
Yerba Buena & Treasure Island
.
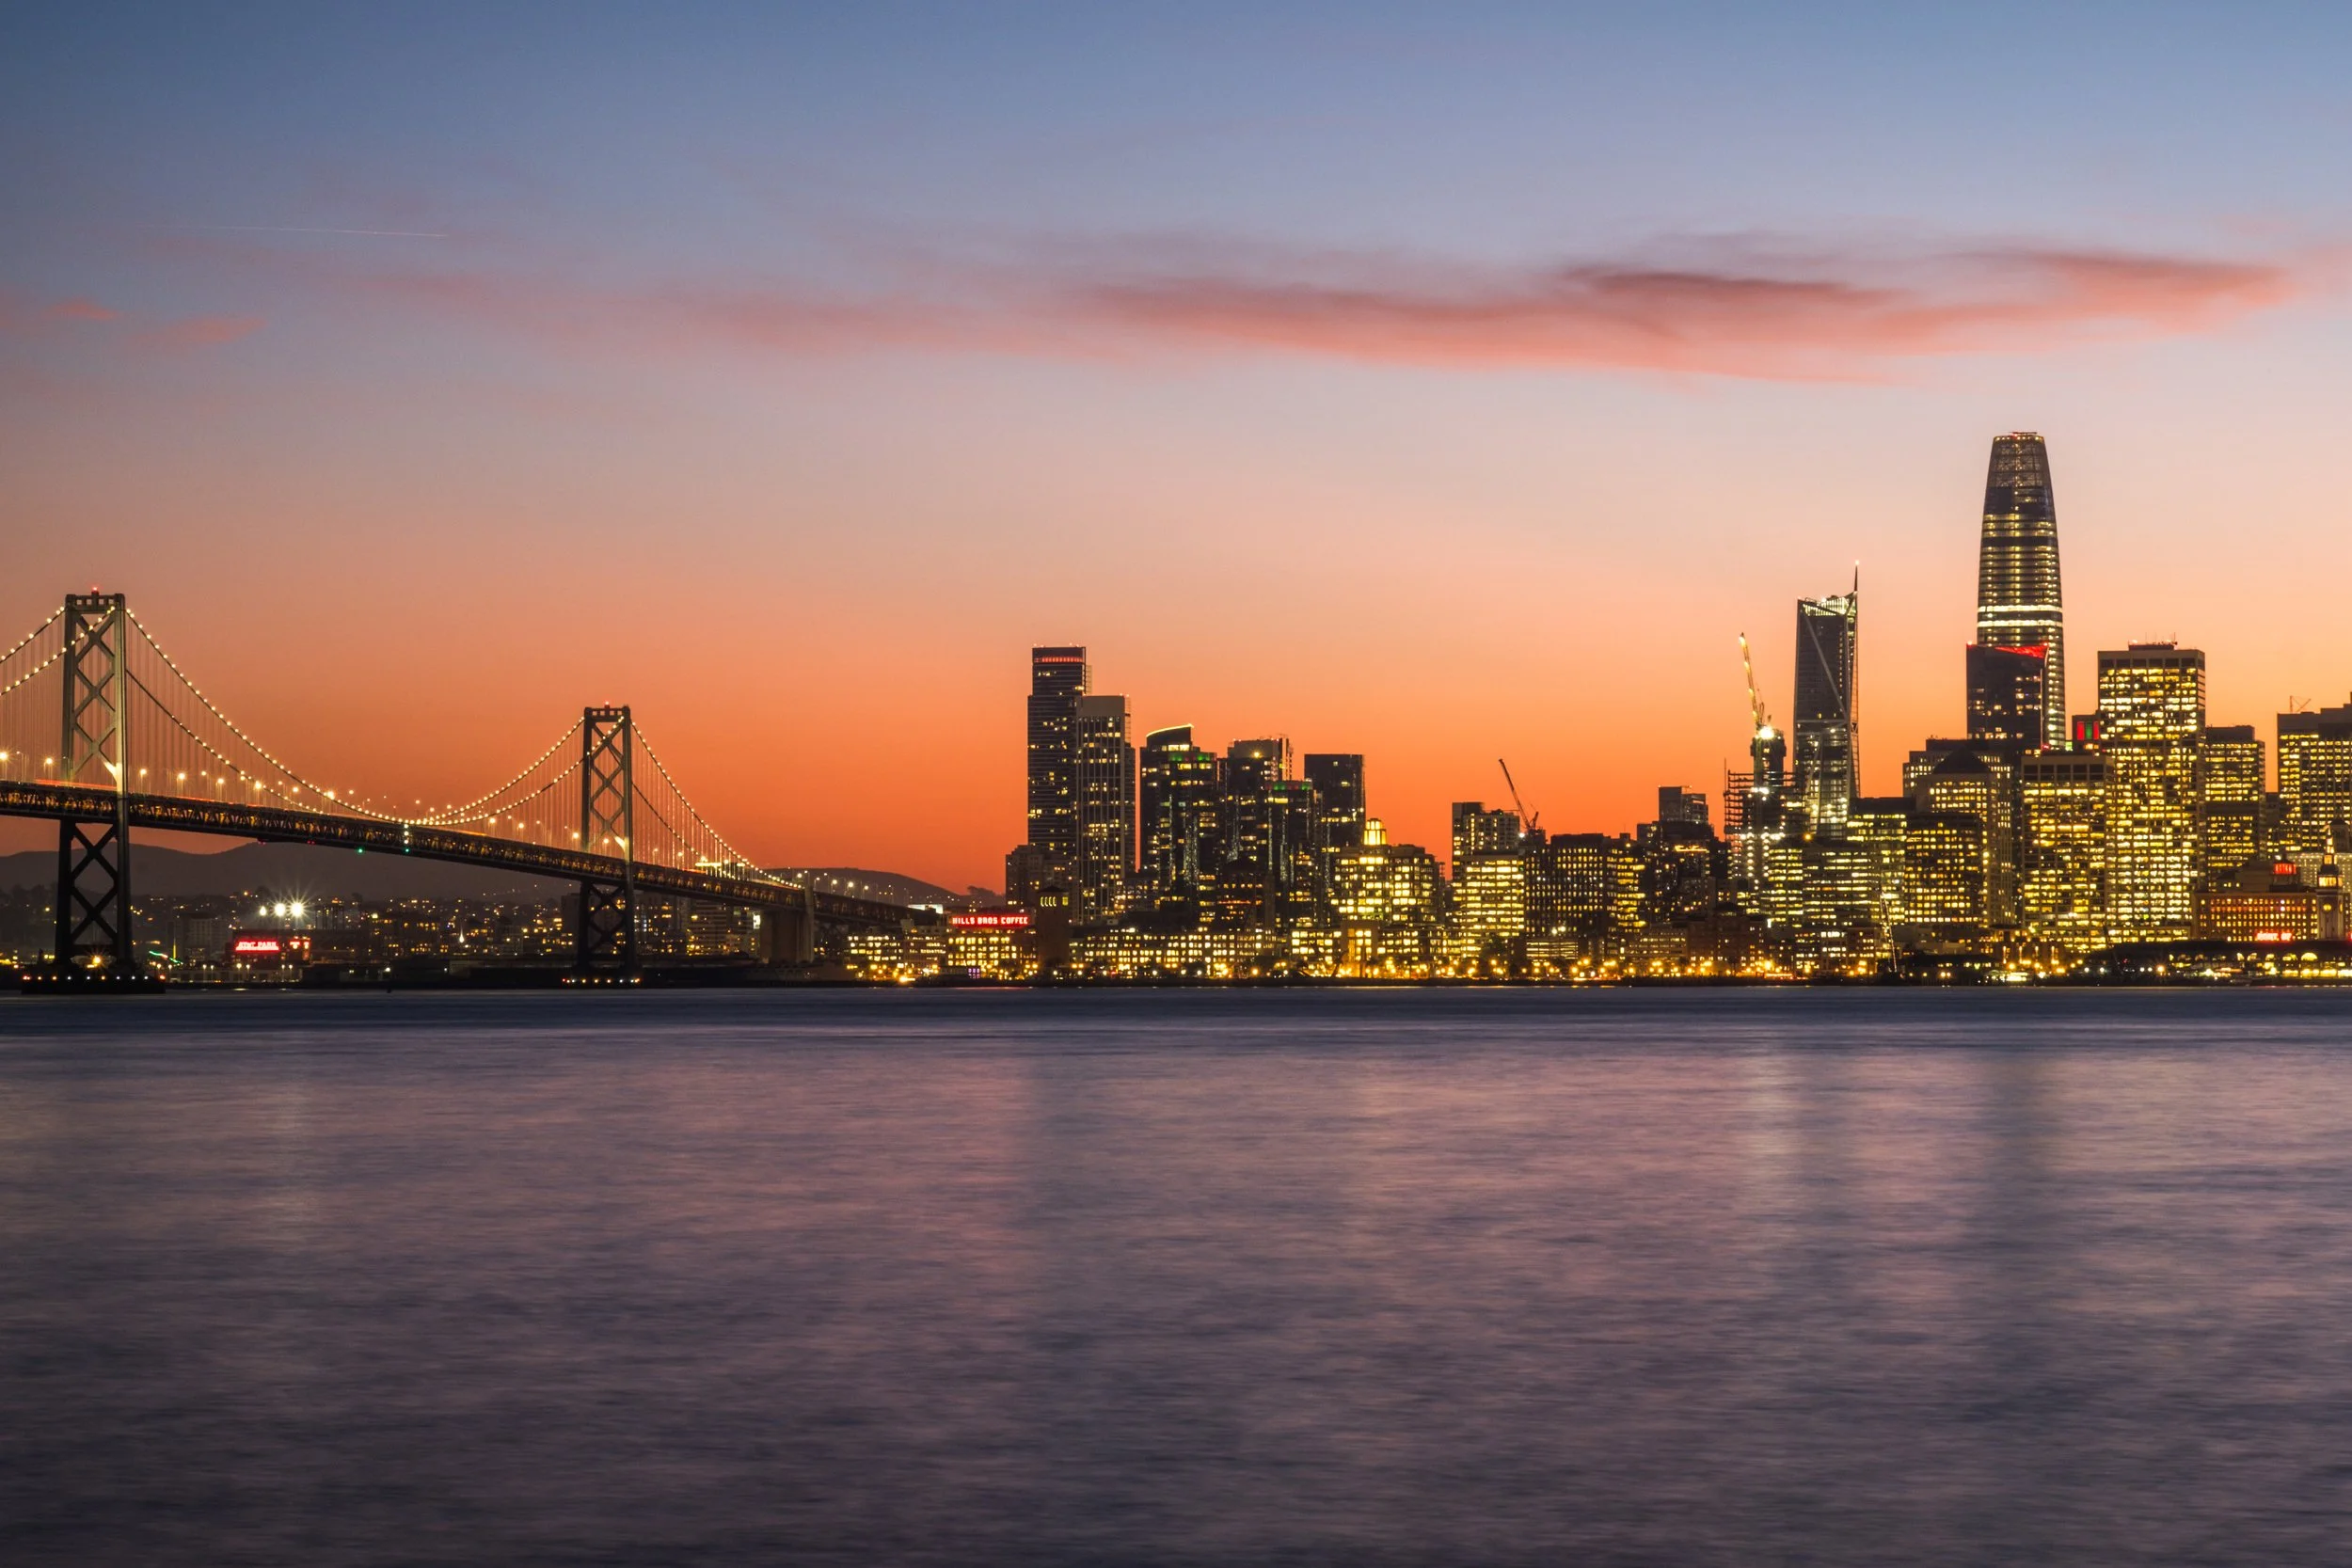
There are a lot of places in the Bay Area where you can photograph the San Francisco skyline. Very few of them put you out in the middle of the water looking straight back at it. Treasure Island and Yerba Buena Island do exactly that, and they do it from two completely different elevations, which is what makes the pair worth a full evening of your time.
Treasure Island puts you at water level, close enough that the skyline fills the frame and the reflections in the Bay do half the work for you. Yerba Buena Island puts you a couple hundred feet up, looking down on the Bay Bridge with the city stacked behind it. Same trip, same parking spot, two entirely different sets of photographs.
I have been shooting out here for years, usually in the evening, and this guide covers what I have figured out about getting there, when to show up, and what to have in the bag.
The Islands: Some History and How to Get There
Yerba Buena Island is the real one. It has been sitting in the middle of the Bay for a very long time, it has actual bedrock, and for most of the 1800s it was known as Goat Island. The Bay Bridge runs right through it. When the bridge opened in 1936, the Yerba Buena Tunnel was the largest bore tunnel in the world, and it is still the hinge point between the western suspension span and the eastern span.
Treasure Island is the fake one, and I mean that as a compliment. It was built from scratch in the late 1930s, dredged fill piled onto the shoals just north of Yerba Buena, and connected to it by a causeway. The reason for all that effort was the Golden Gate International Exposition of 1939 and 1940, a world's fair that billed itself as "A Pageant of the Pacific" and celebrated, among other things, the two brand new bridges and the arrival of transpacific air travel. The plan was that once the fair packed up, Treasure Island would become San Francisco's international airport, with Pan Am's China Clipper flying boats operating out of it.
That never happened. The Navy took the island in 1941 and held it until 1997. Most of the fair was demolished, but a few structures survived, and one of them is the reason photographers still make the trip.
Both islands are now in the middle of a massive redevelopment, which is genuinely good news if you shoot here. Several new public parks have opened in the last couple of years, including the hilltop parks on Yerba Buena that used to be off limits entirely. Some of the best vantage points on these islands have only been accessible to the public since 2024.
Driving and the traffic problem
Let me be straight with you about this. Getting to the islands means getting onto the Bay Bridge, and the Bay Bridge is the Bay Bridge. On a weekday afternoon you can sit in that approach for a very long time, and if you are trying to hit a specific sunset window, that is a bad way to spend your golden hour.
I go on weekends. It is meaningfully better, though not magic, and you should still leave earlier than you think you need to. Give yourself a buffer of at least 30 minutes beyond whatever your map app tells you. Nothing is worse than watching the light peak through a windshield.
The upside once you are there is that parking on Treasure Island is easy and free in most spots. It is one of the few places this close to downtown where you are not circling a block hunting for a space.
Taking the ferry instead
This is my preferred way to do it when I can, and I wrote about my first trip over in A Ferry Ride to Treasure Island.
The ferry runs from the Ferry Building at Gate B over to the Treasure Island terminal. The ride is about ten minutes, and a one way ticket is $5, with round trip at $10. You can buy tickets in advance or pay on board with a card or phone. At that price it is a no brainer, and you skip the bridge entirely.
Two things to plan around.
First, the boats run roughly every hour or so, with wider gaps at some times of day. That is not a schedule you can improvise against, so check the current timetable before you go and build your shooting plan around specific departures.
Second, and this one matters more than people expect: the last boat of the evening leaves earlier than you might want it to. In late fall and winter, when sunset lands in the 5 o'clock hour, this is a non issue and the ferry is perfect. In midsummer, when the sun is not going down until well past 8, you can easily shoot right past your ride home. Check the last departure against the actual sunset time for the day you are going.
If you do miss it, or if you plan to stay through blue hour on purpose, you are not stranded. The Muni 25 bus runs from Treasure Island back into the city, and a rideshare over the bridge is straightforward. I have done both.
One tradeoff worth naming: the ferry lands you on Treasure Island. If you want the Yerba Buena hilltop shots, you are walking up there, and it is a real climb. Figure 30 to 40 minutes uphill from the ferry terminal, with genuine elevation gain along Treasure Island Road and Macalla Road. Bring water, wear something you can walk in, and do not carry the whole camera closet.
It is absolutely worth it. But go in knowing you are doing a hike with a camera bag on, not strolling from a parking lot.
Yerba Buena Island
This is the elevation half of the trip, and until recently most of it was closed to the public. The hilltop was Navy property, then it was construction fencing, and now there are actual finished parks up there with paved paths and benches. If you have not been up since it opened, the view is going to surprise you.
Panorama Park and Signal Point
Panorama Park sits at the top of the island, built on the footprint of a two million gallon water tank from 1918. You walk up a curving elevated path and come out on an overlook with, as advertised, a full 360 view. The San Francisco skyline, both bridges, Alcatraz, Clipper Cove, the Golden Gate off in the distance. Signal Point is just across the road to the east and gives you the Oakland side.
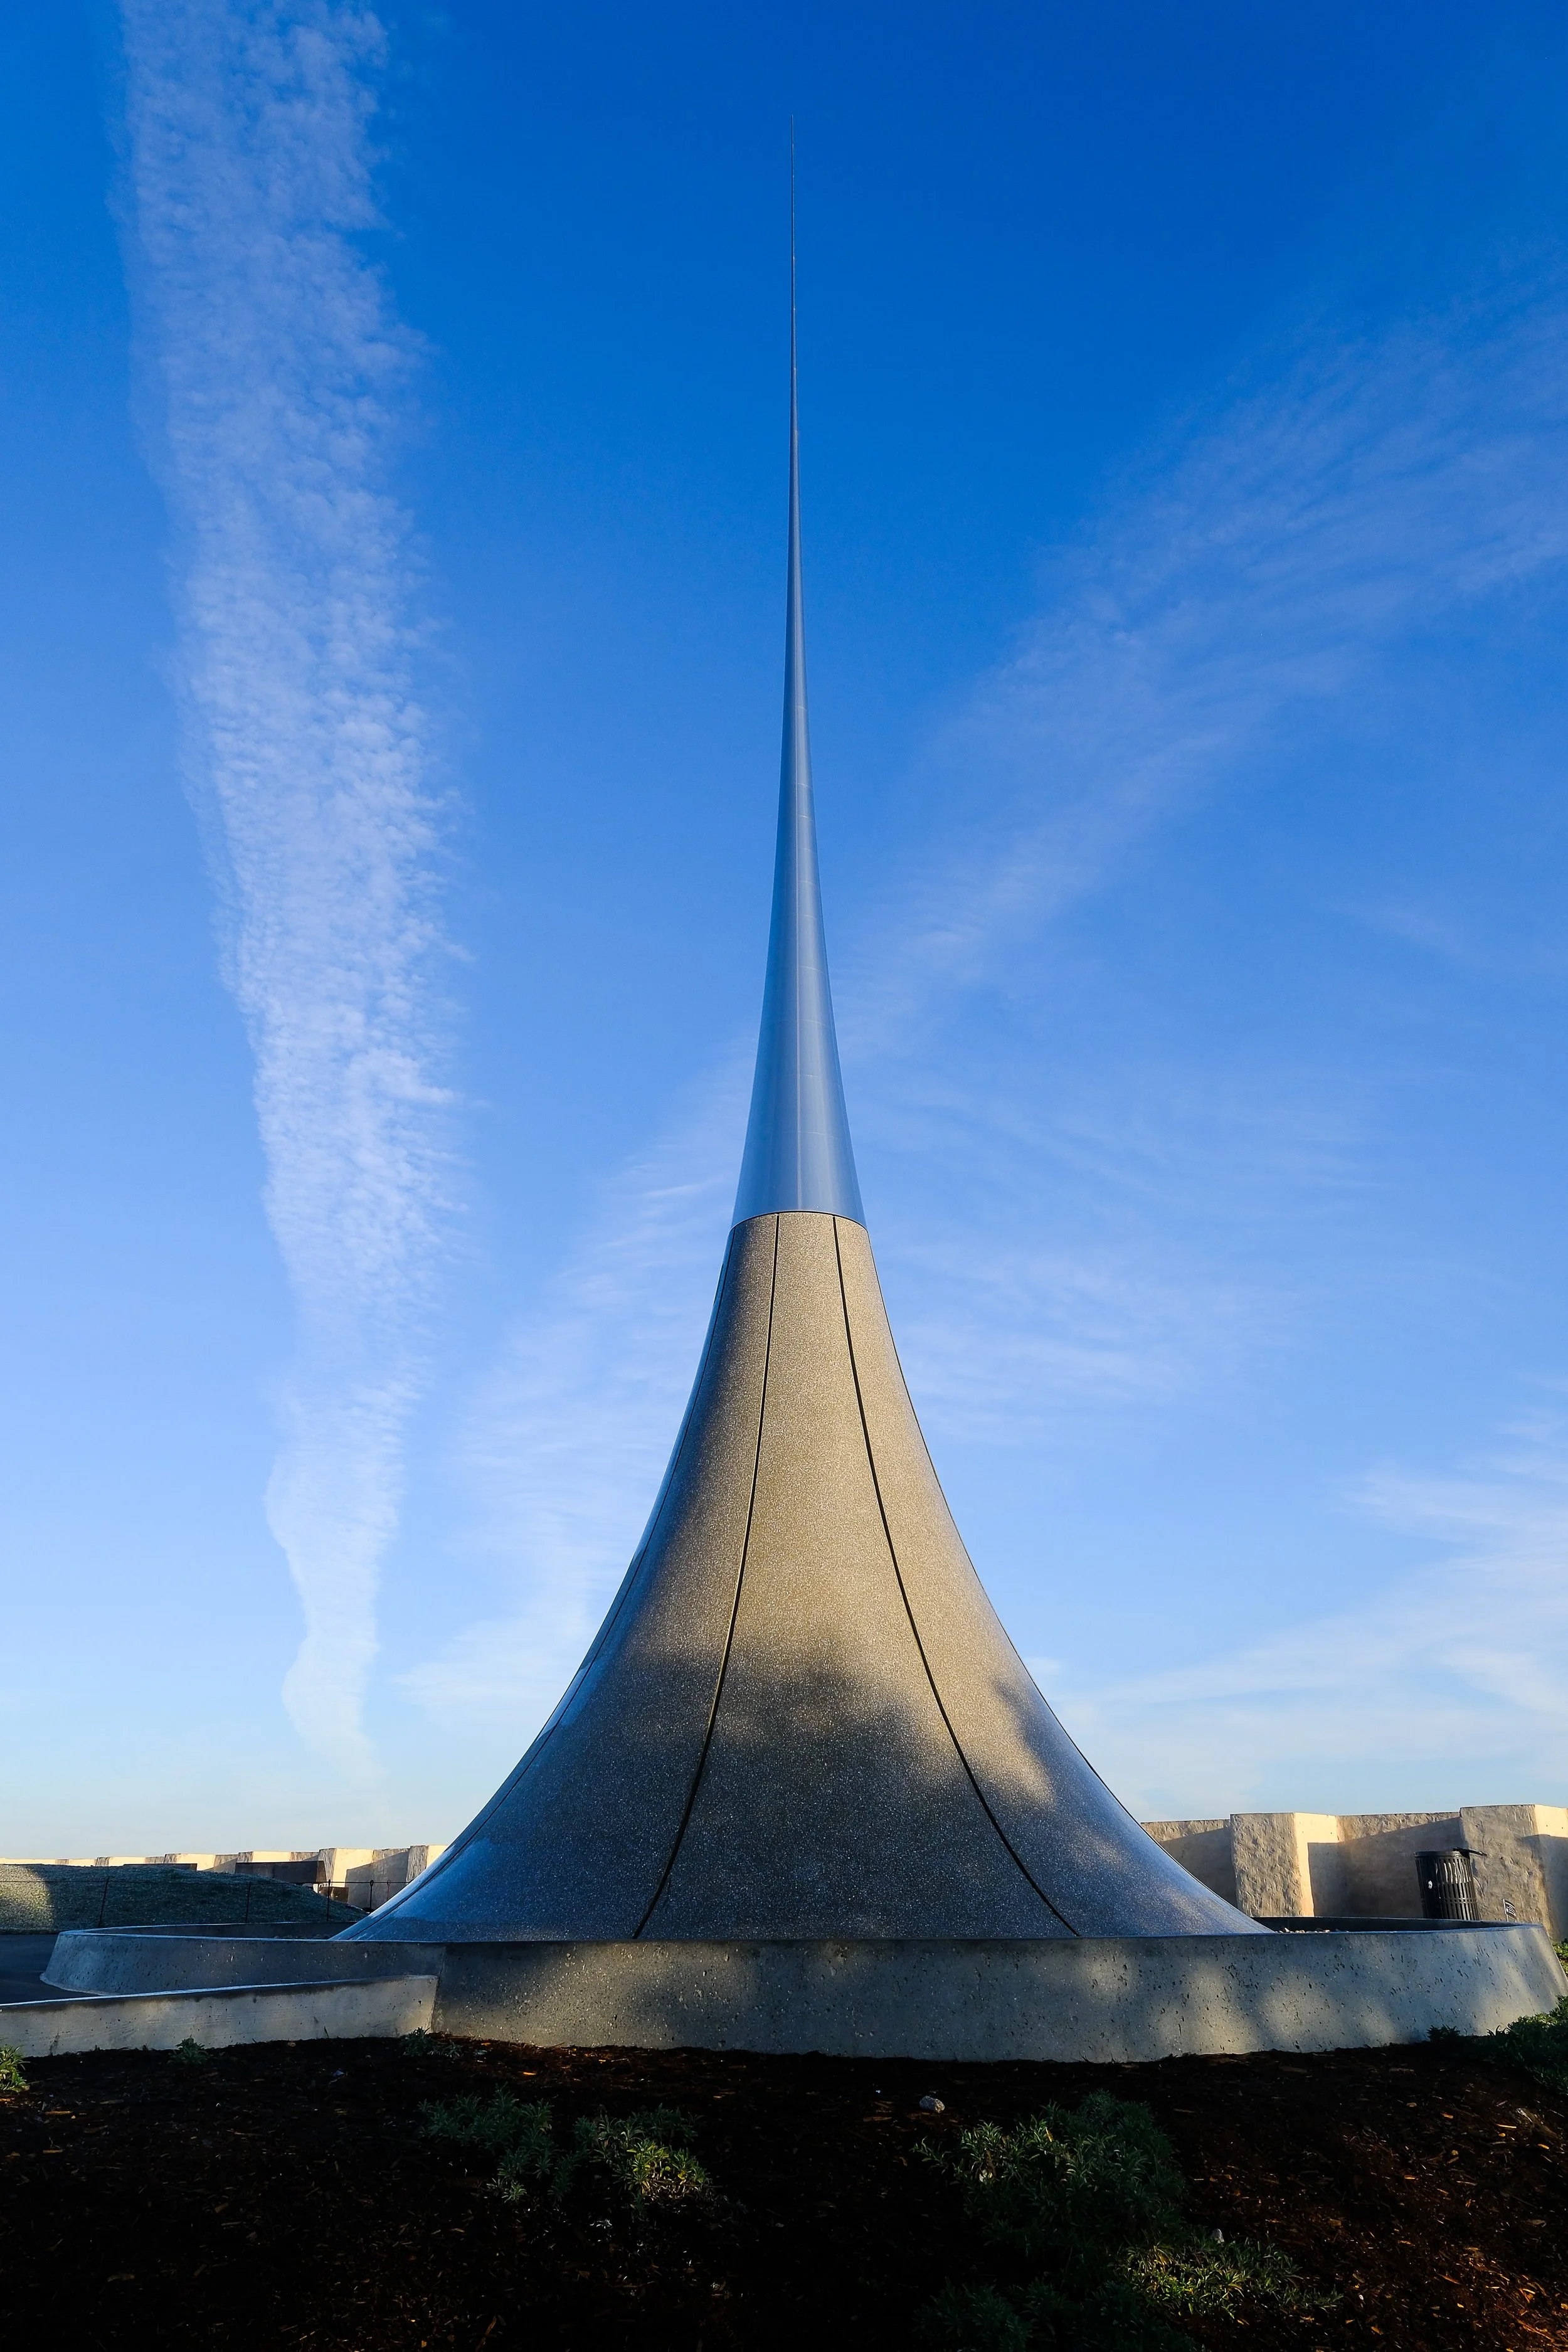
There is also a 69 foot stainless steel sculpture up here, Hiroshi Sugimoto's "Point of Infinity," which is a photograph in its own right. It catches late light beautifully and it works as a foreground element if you want something in the frame besides bridge and water.
The Bay Bridge shot
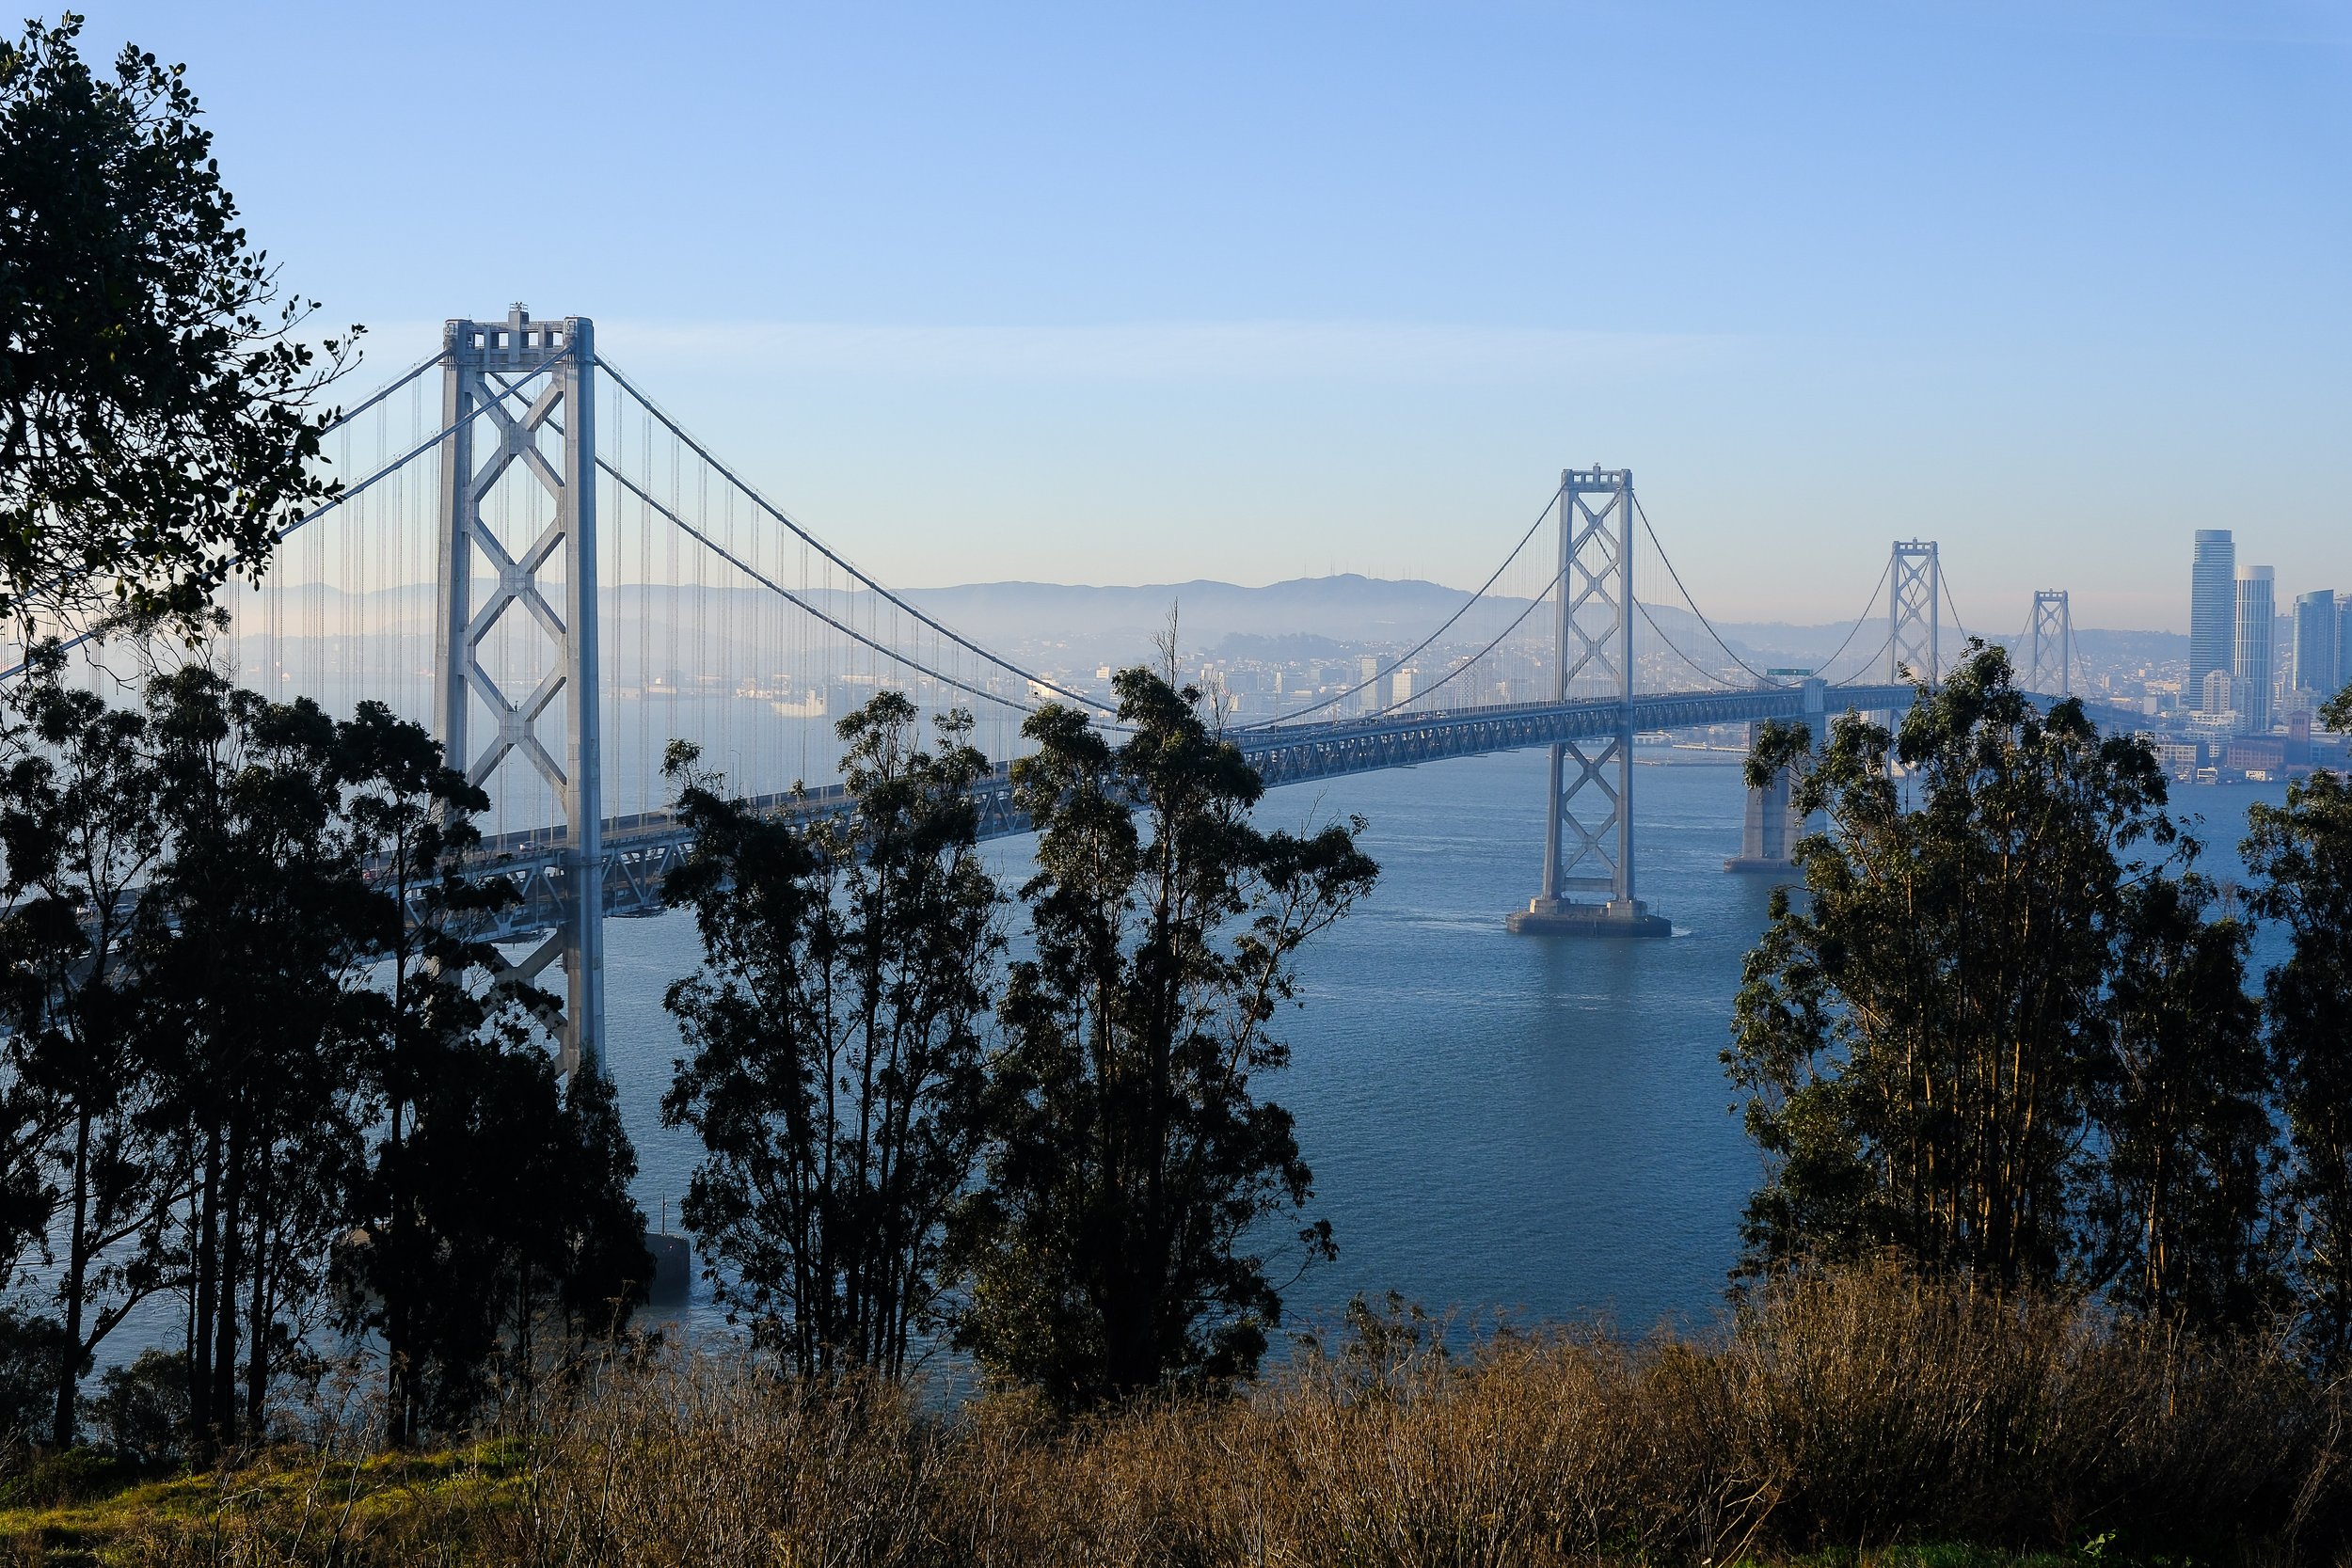
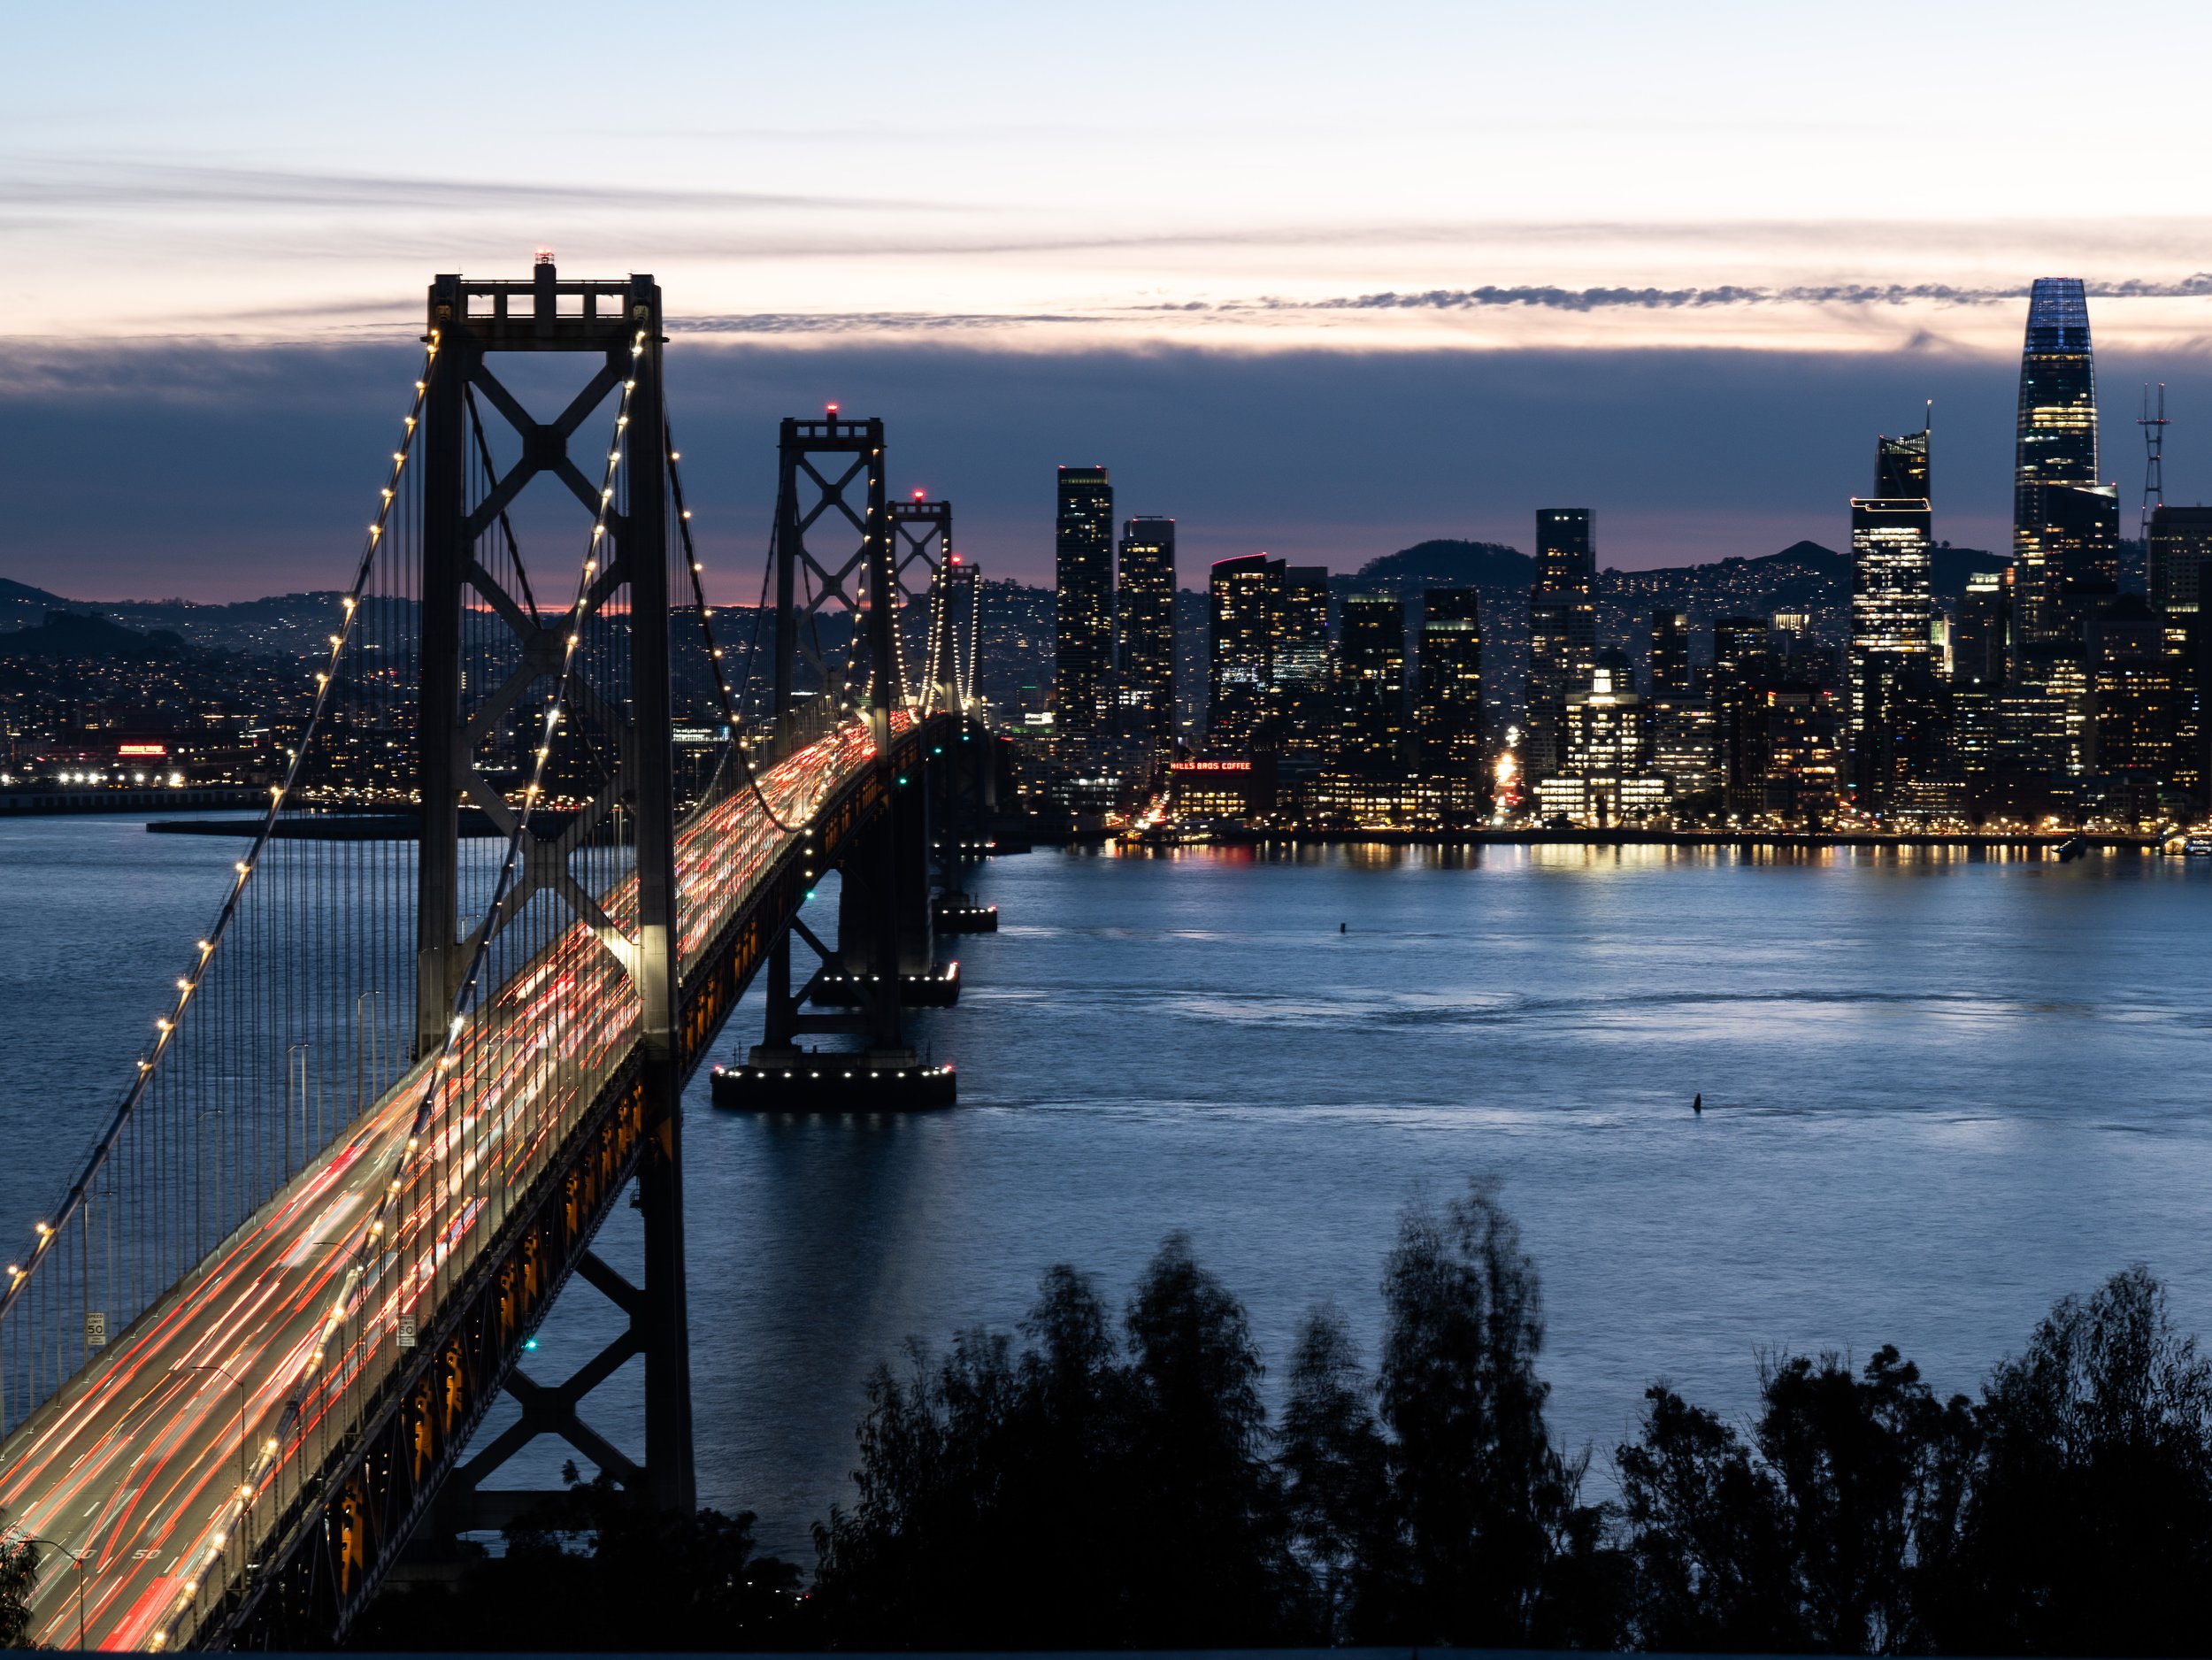
This is the reason to come up here. From Yerba Buena you are looking down and along the western suspension span with the city rising behind it, and that stacked, layered composition is something you simply cannot get from sea level. The bridge does not look like a line across the water from up here. It looks like architecture.
The Vista Point at the end of the Bay Bridge East Span Path is the other angle, giving you the eastern span heading toward Oakland. Different bridge, different character, both worth shooting.
Motion blur on the westbound traffic
Here is my favorite thing to do on this island, and it is the reason the tripod comes.
From the right spot up here you are looking down at the traffic streaming west into San Francisco. Set up on the tripod, stop down, and drop your shutter to somewhere between two and eight seconds depending on how much light is left and how long you want the trails to be. What you get is a solid ribbon of red and white light flowing toward the city, with the bridge structure sharp around it and the skyline lit up in the background.
Start experimenting during the last of the light rather than waiting for full dark. The sweet spot is that window where there is still some color in the sky but the headlights are already reading, usually 15 to 30 minutes after the sun goes down. Once it is genuinely dark you lose the sky and the shot flattens out.
Bracket your shutter speeds. Two seconds gives you distinct streaks, eight gives you a smooth continuous flow, and which one is better depends entirely on how heavy the traffic is that night. Shoot both.
A remote release or the two second timer keeps you from nudging the camera at the start of the exposure. If it is windy, and it often is, hang your bag off the center column.
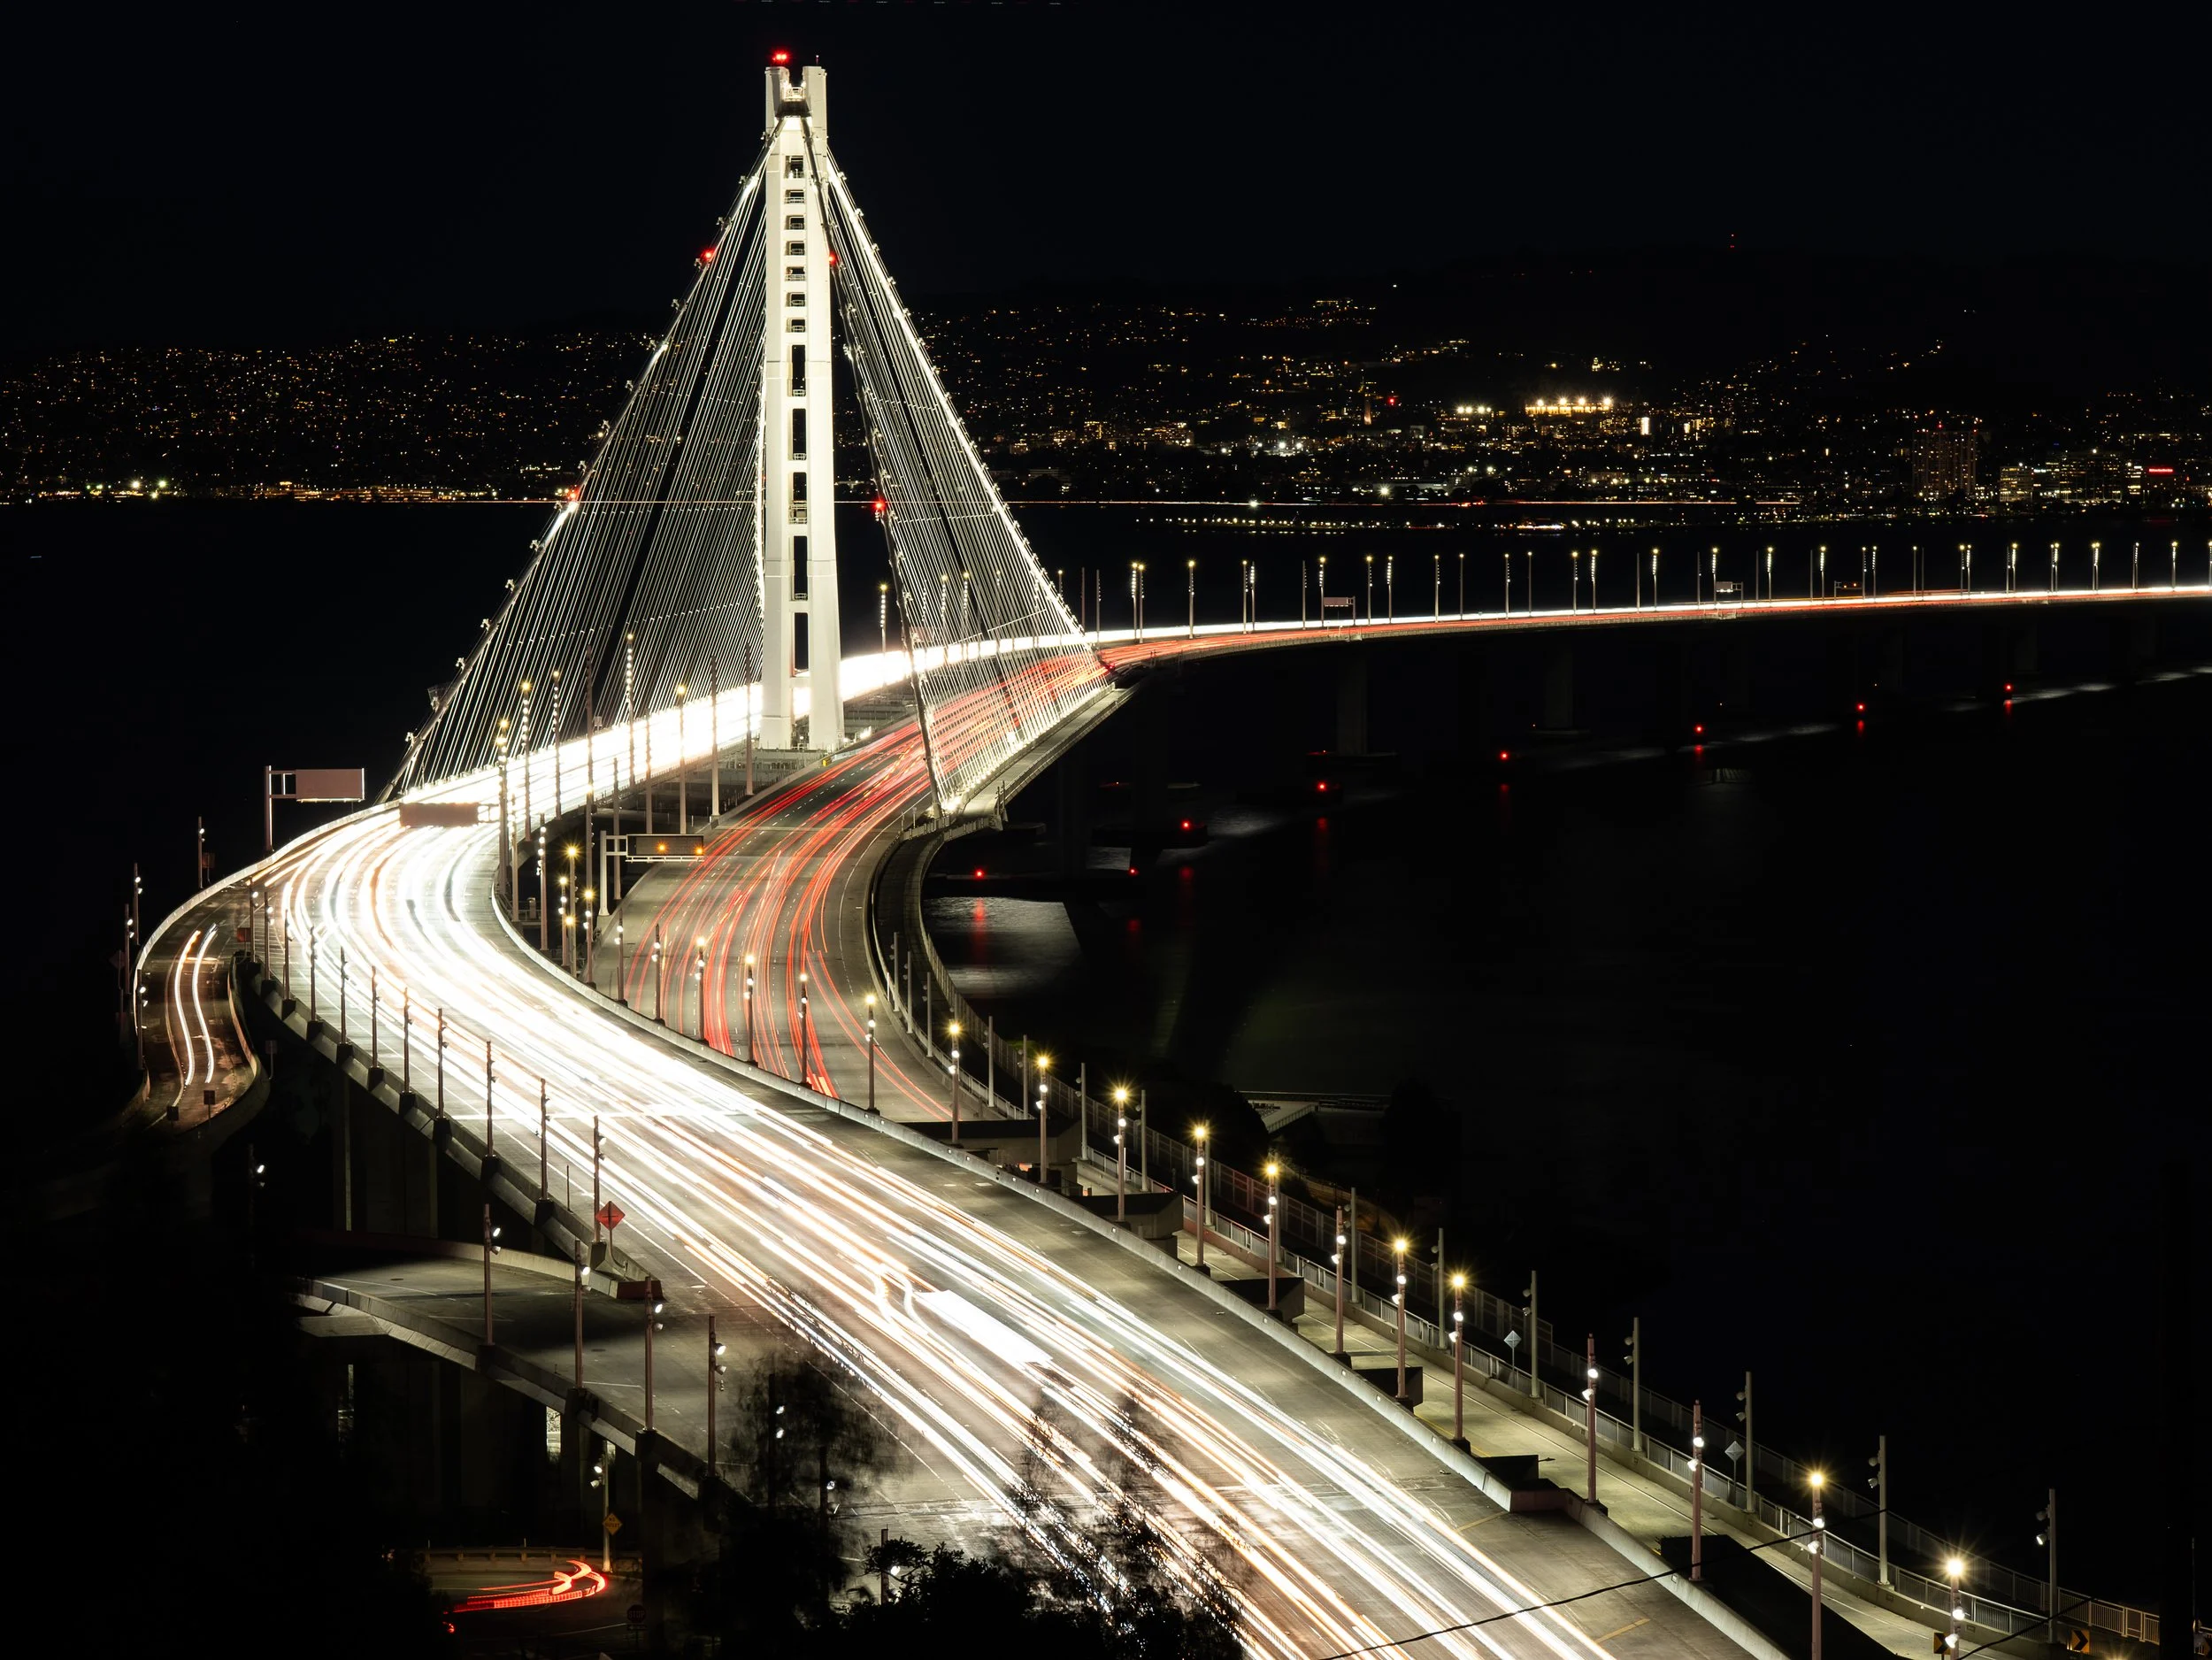
Now walk over to the other side and shoot the eastern span toward Oakland, because you get something there that the western approach cannot give you. On the eastern span both directions of traffic run side by side on a single deck rather than stacked on two levels, and that changes the photograph completely. You end up with a clean band of white headlights coming at you and a parallel band of red taillights pulling away, running together across the frame with the white suspension tower and the Oakland hills behind them. Two ribbons of color, separated by the barrier, both leading the eye in the same direction. It is a more graphic, more abstract shot than the westbound version and honestly I think it is the stronger of the two. Give the exposure a little more time here, closer to the eight to fifteen second range, so both lanes fill in solidly instead of reading as a handful of disconnected streaks. Compose so the split runs diagonally through the frame rather than straight across, and watch where you place the tower so it anchors the composition instead of just sitting in it.
What to bring on Yerba Buena
The XF 16-55mm f/2.8 on the X-T5 covers most of what you need up here. At the wide end you can take in the whole sweep of bridge, bay, and skyline. At 55 you can tighten onto the tower and the roadway.
The XF 70-300mm earns its spot for compression work, pulling the bridge cables and the downtown towers together into a single stacked plane. If you own the XF 100-400mm, this is a good place for it too, particularly if you want to isolate a single tower against the city.
The tripod is not optional if you want the light trails.
Treasure Island
Down at sea level, and a completely different relationship with the same skyline.
The classic skyline view
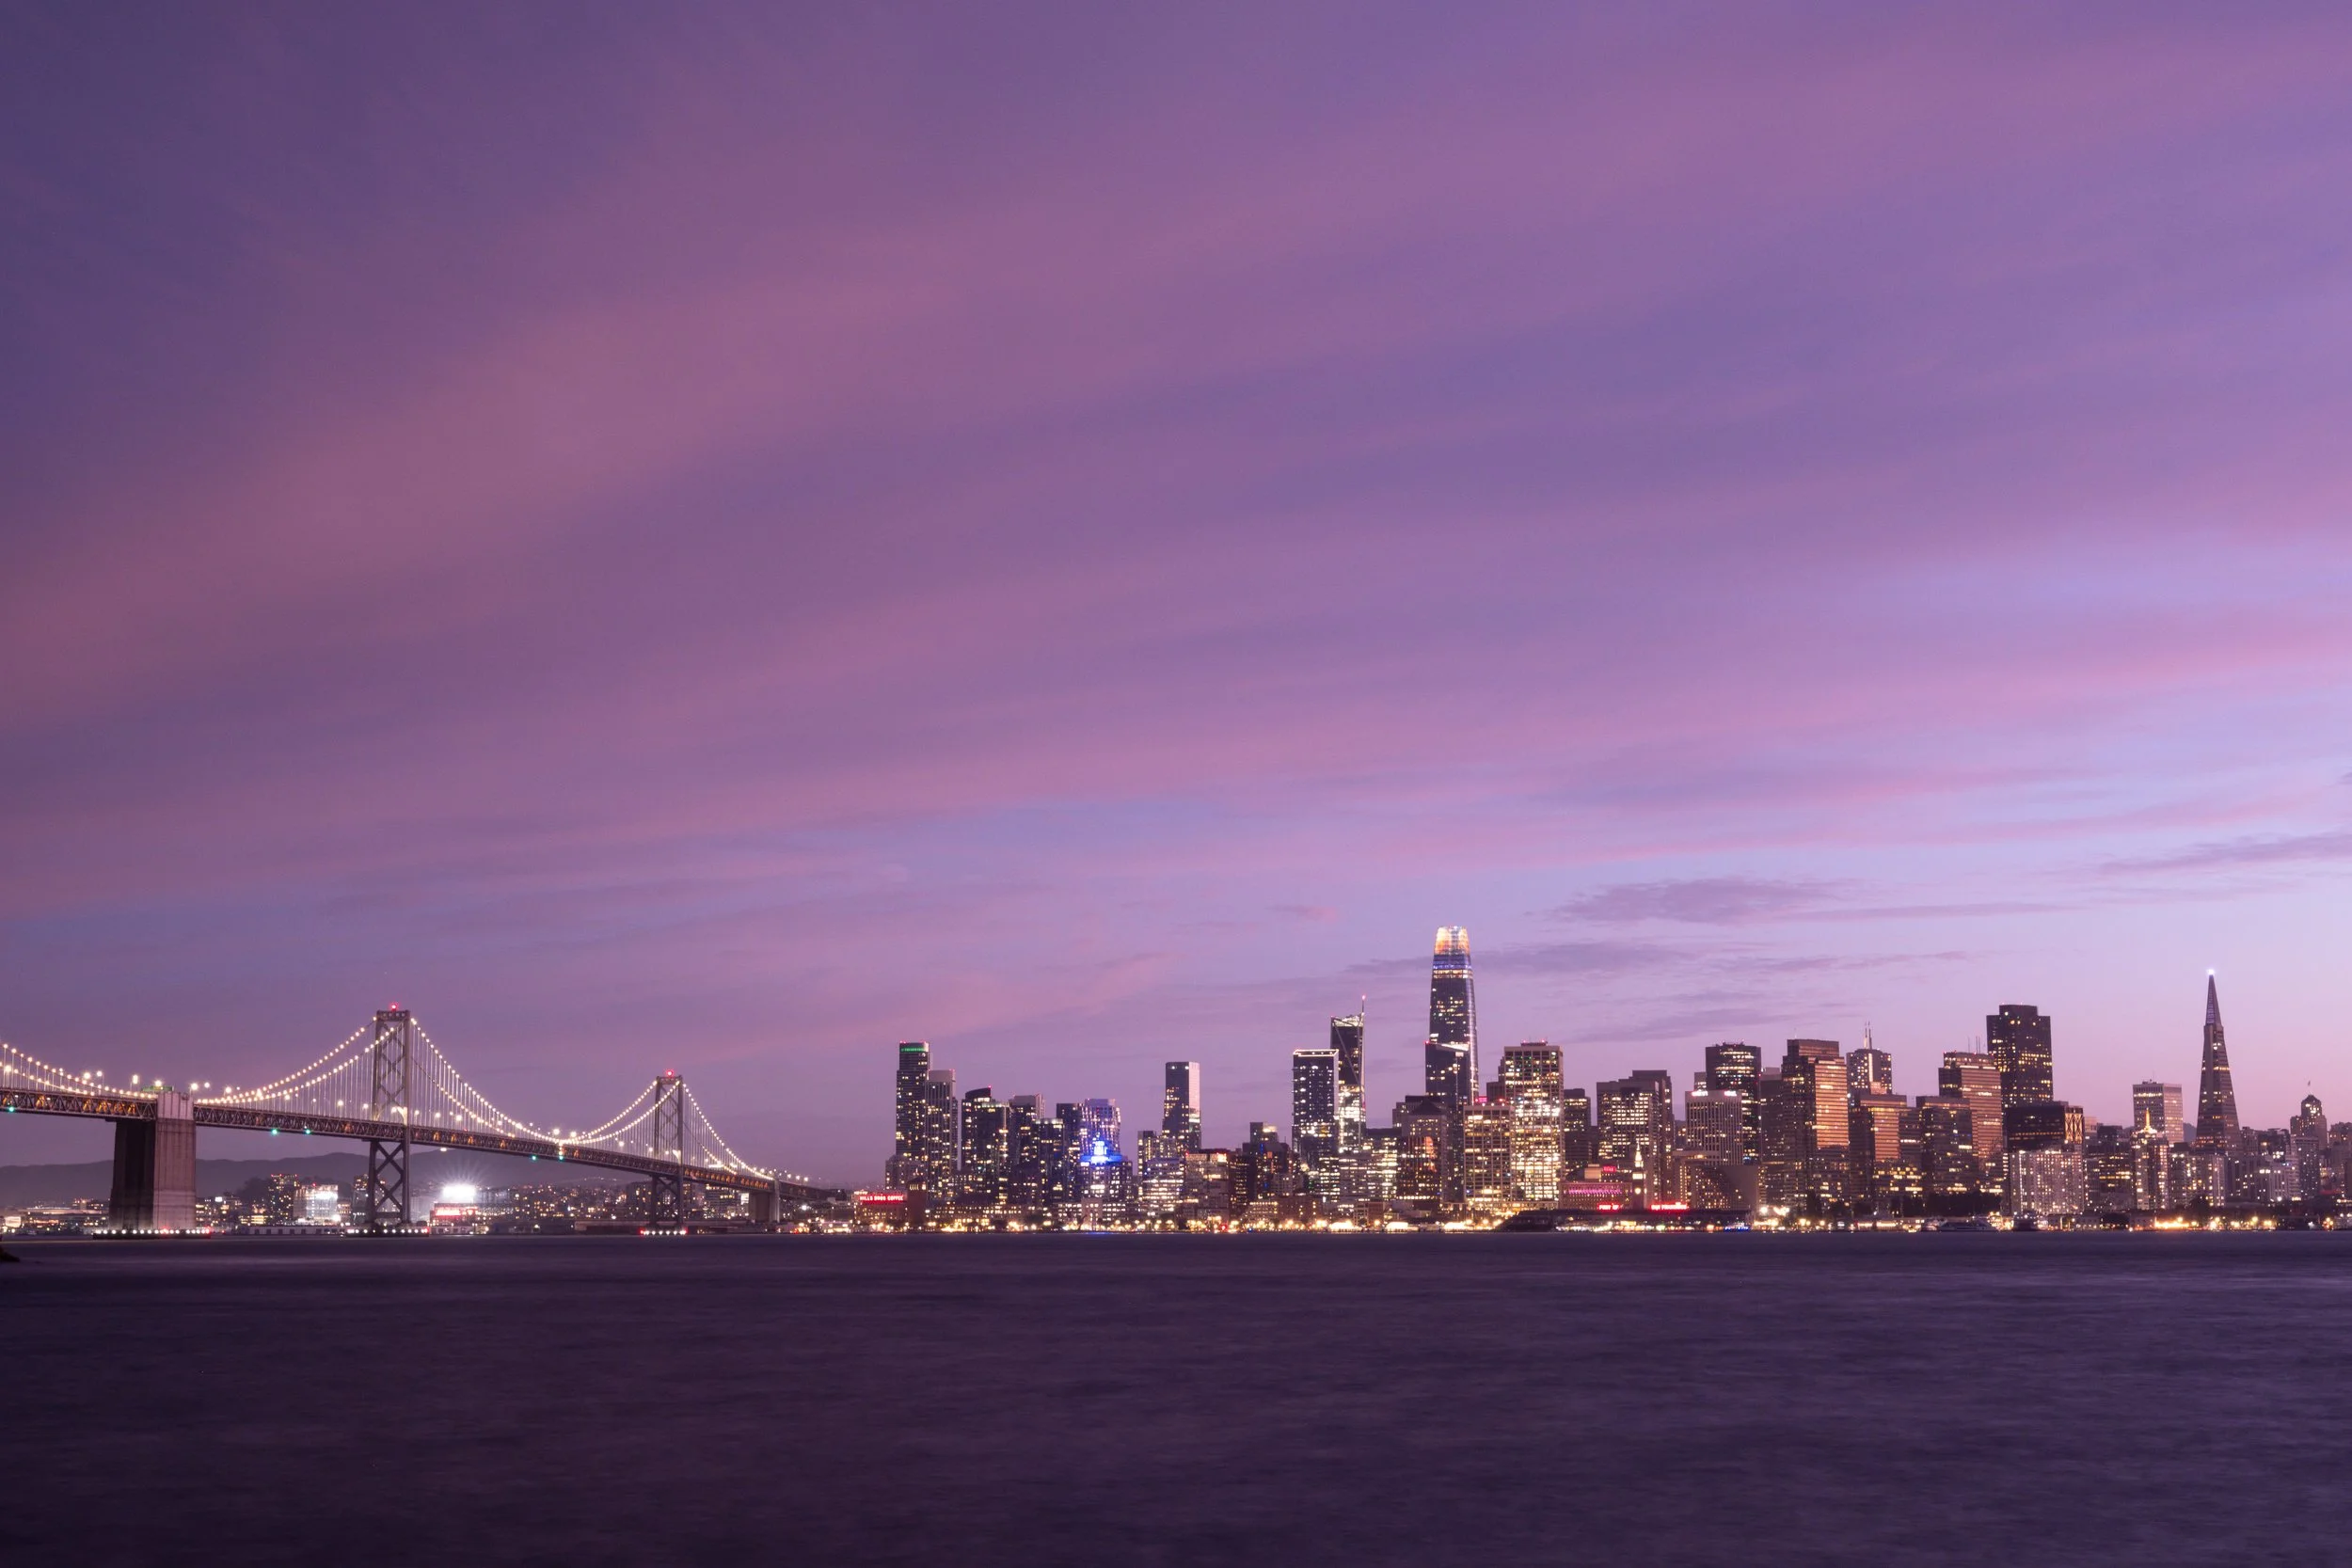
The western shoreline of Treasure Island is what most people come for, and it deserves the reputation. You are right at water level, roughly two miles from downtown, looking straight across at the full skyline with nothing in the way. On a calm evening the Bay gives you reflections that double the whole scene.
The 16-55 is the lens here. At the wide end you get the entire skyline plus the northern tower of the Bay Bridge on the left edge and the Golden Gate off in the distance on the right. Walk the shoreline and work the foreground. The rocks, the railing, the water itself all change the character of the shot depending on where you plant your feet.
Timing: evenings, and specifically which evenings
Sunset is the play here, and there is a specific reason.
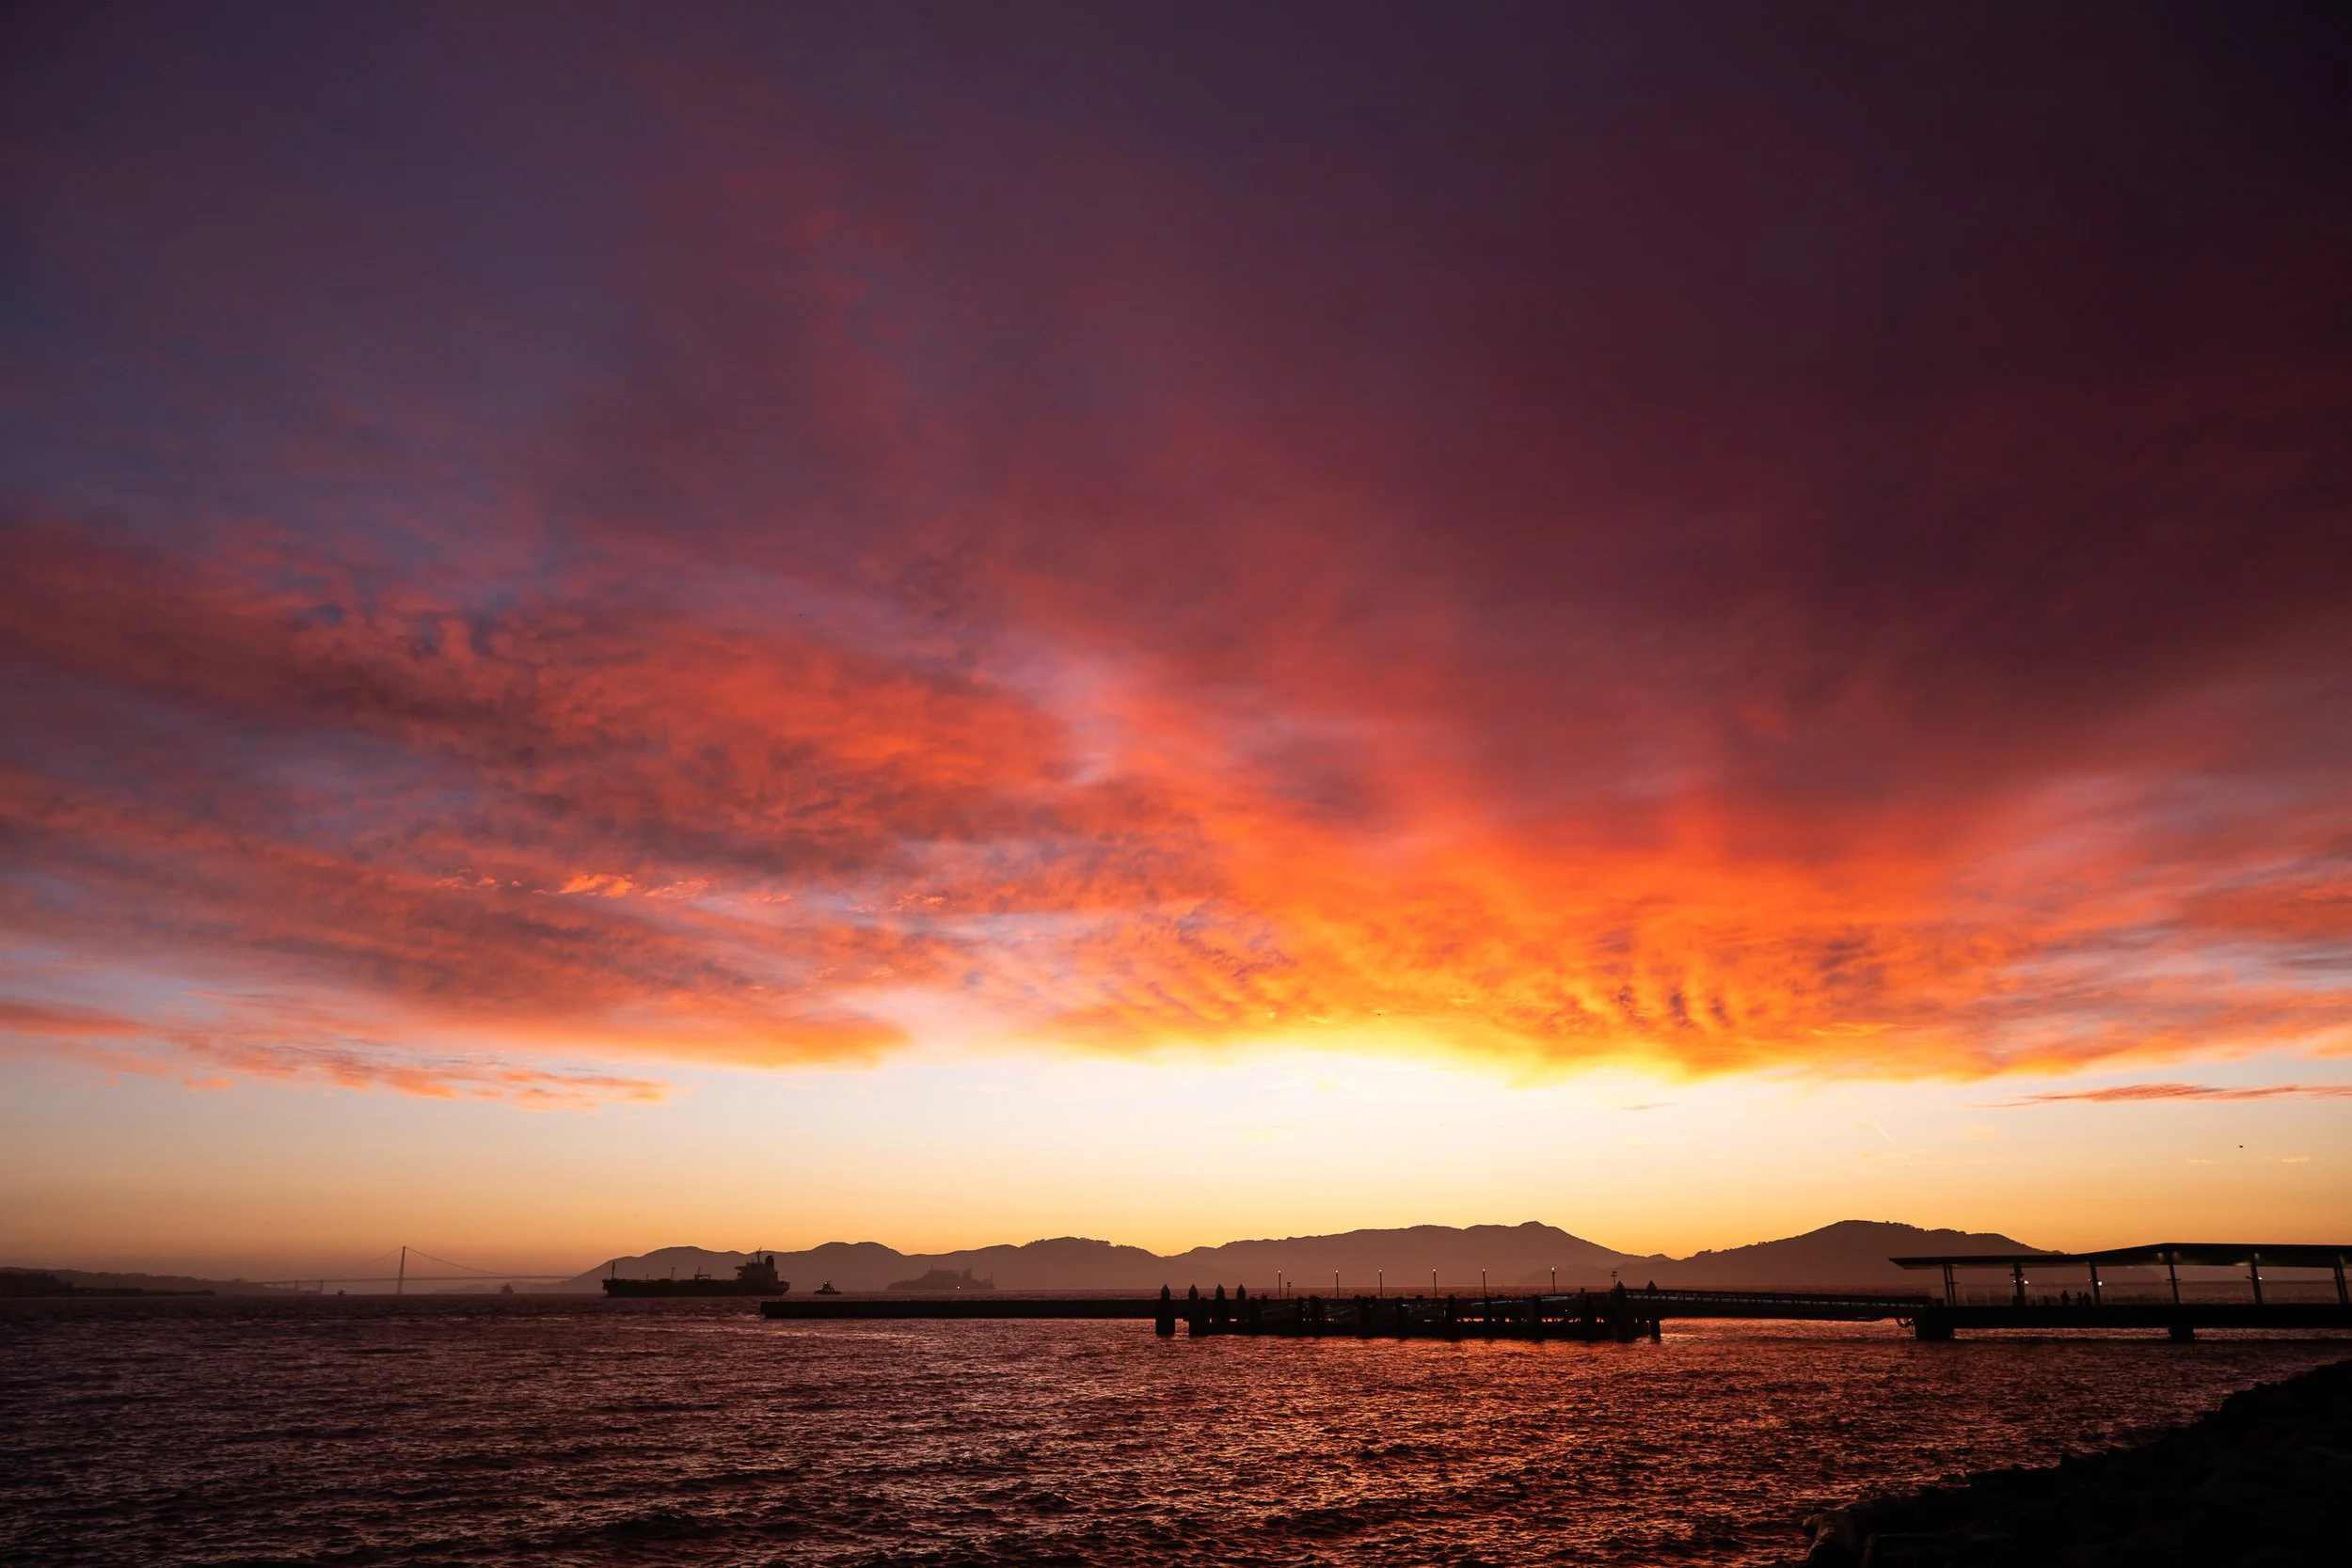
You are shooting west at the city, which means the sun goes down behind your subject. What you are after is that window where the sun is dropping behind the skyline and the building lights have already come on. Get it right and you have warm sky, silhouetted and rim lit towers, and the windows glowing. It is one of those scenes where the dynamic range is doing something interesting rather than fighting you.
Now, the part that most guides leave out: where the sun actually sets moves a lot over the course of the year. From late fall through winter it drops southwest, which puts it behind or just south of the downtown cluster. That is the shot. In midsummer it sets much farther north, out toward the Golden Gate, and the light on the skyline is a completely different animal. Not worse, but different, and if you showed up in July expecting a December composition you will be disappointed.
Check the sun position for the date you are planning. It genuinely changes what is possible.
Stay through blue hour. The 20 to 30 minutes after the sun is fully down is when the sky goes deep blue, the city lights balance against it, and the water calms into a mirror. That is tripod territory.
Turn around
Do not spend the entire evening pointed at San Francisco.
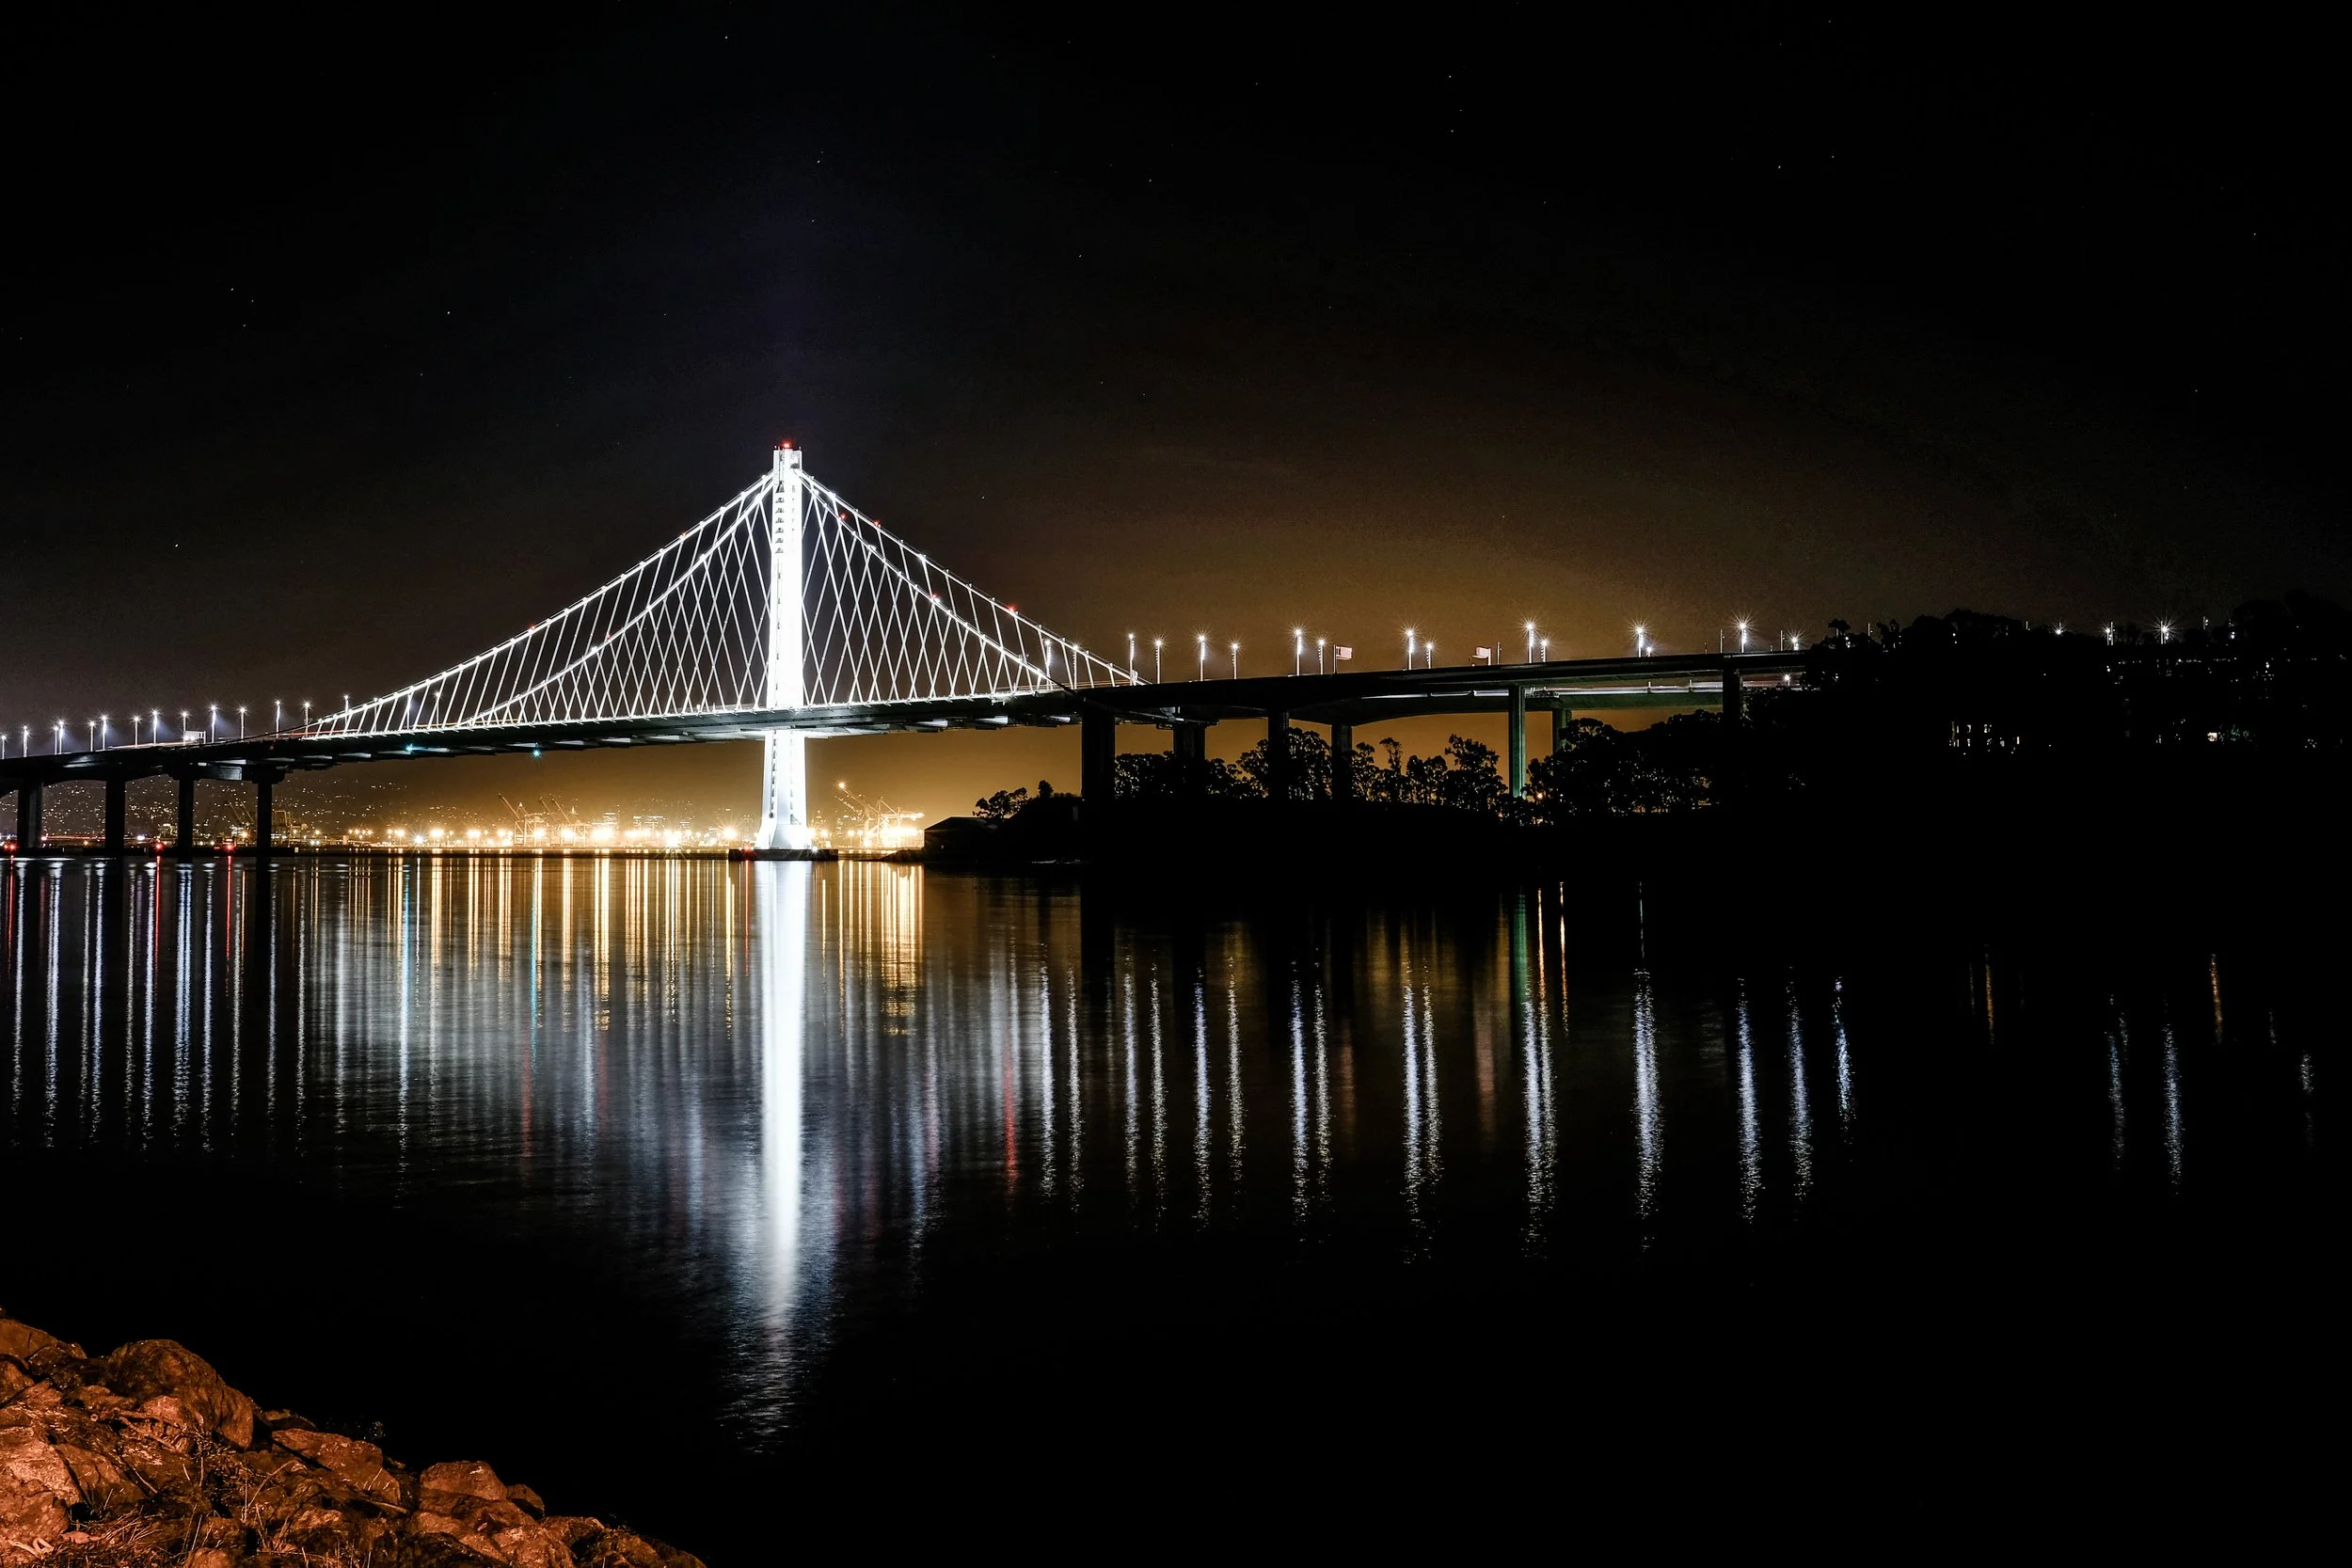
Look east and you have the eastern span of the Bay Bridge heading toward Oakland, with the Oakland hills behind it. It is a much less photographed view and it is genuinely good, particularly at the tail end of the evening when the bridge lights come on. Earlier in the day it also catches better light than the skyline does, since you are shooting with the sun rather than into it.
This is where the 70-300 comes out. Compress the eastern span, pull the Port of Oakland cranes in behind it, isolate the tower against the hills. There are a lot of frames back there and most people never take one because they never turn around.
Clipper Cove, on the southeast side toward the Yerba Buena causeway, is the other overlooked spot. Sailboats, calmer water, and the wooded slope of Yerba Buena rising behind it. It is a quieter subject than the skyline and a nice change of pace.
The Administration Building
This is the one surviving piece of the world's fair worth planning around, and the ferry drops you off directly across from it.
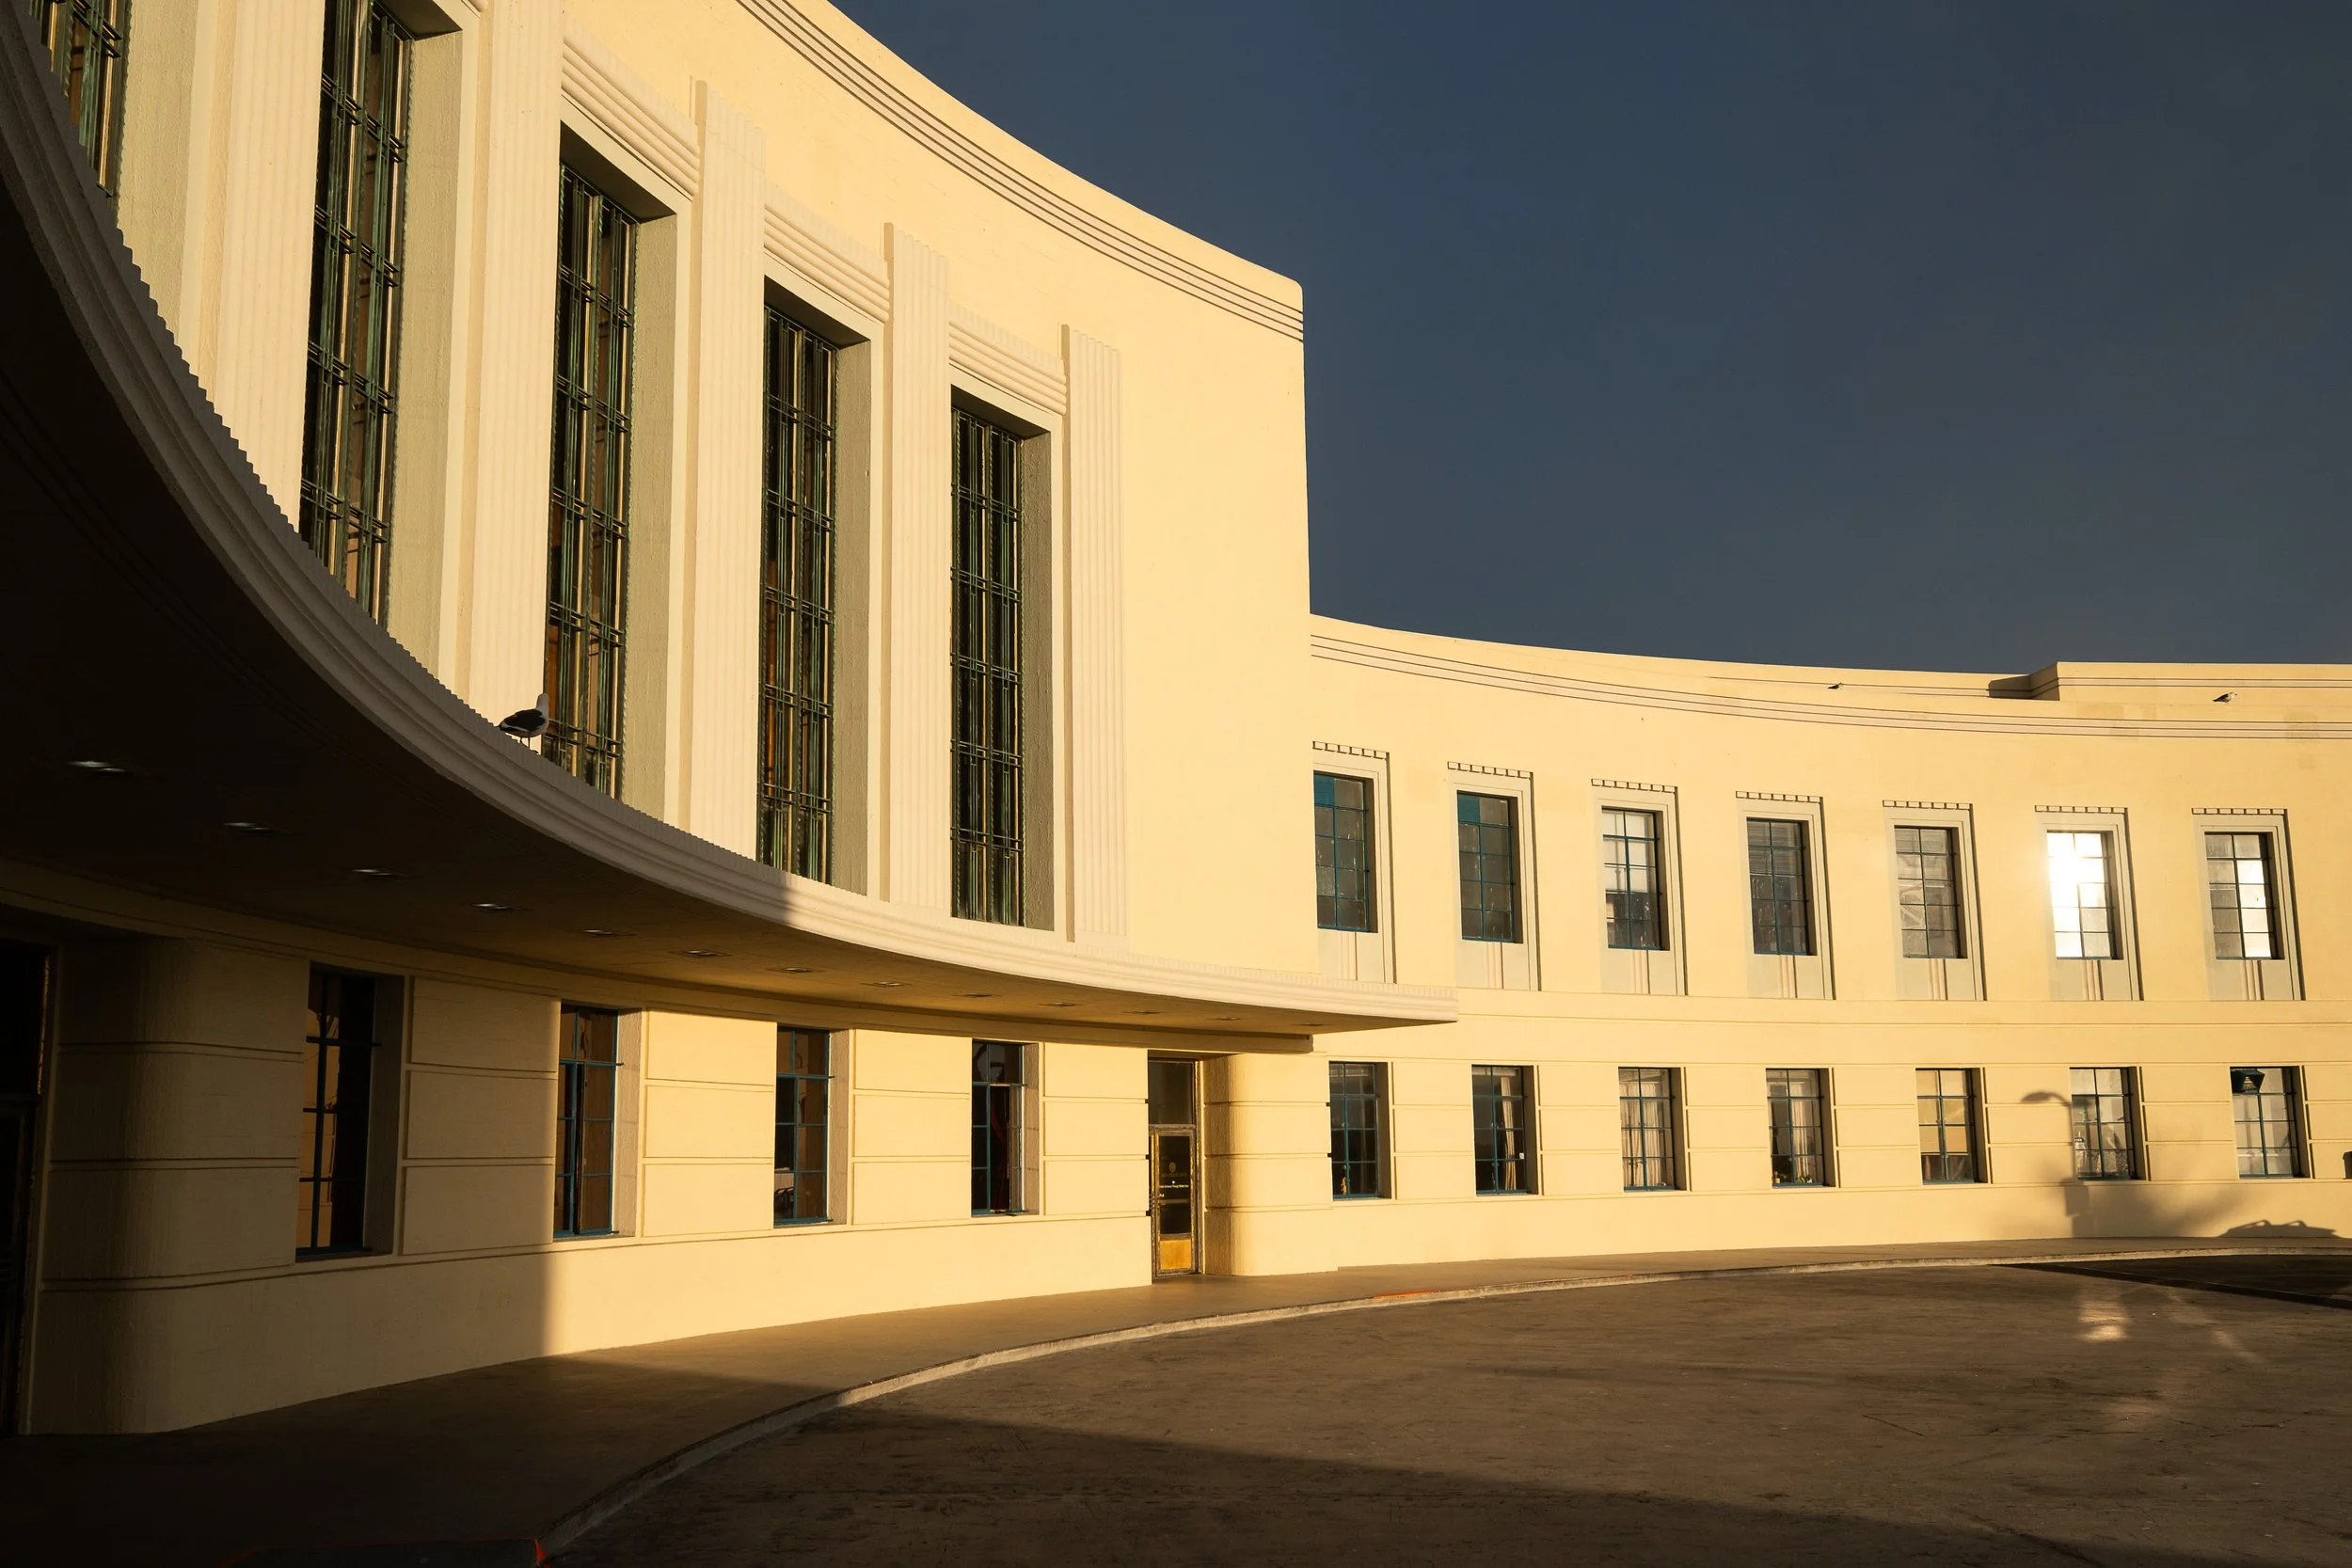
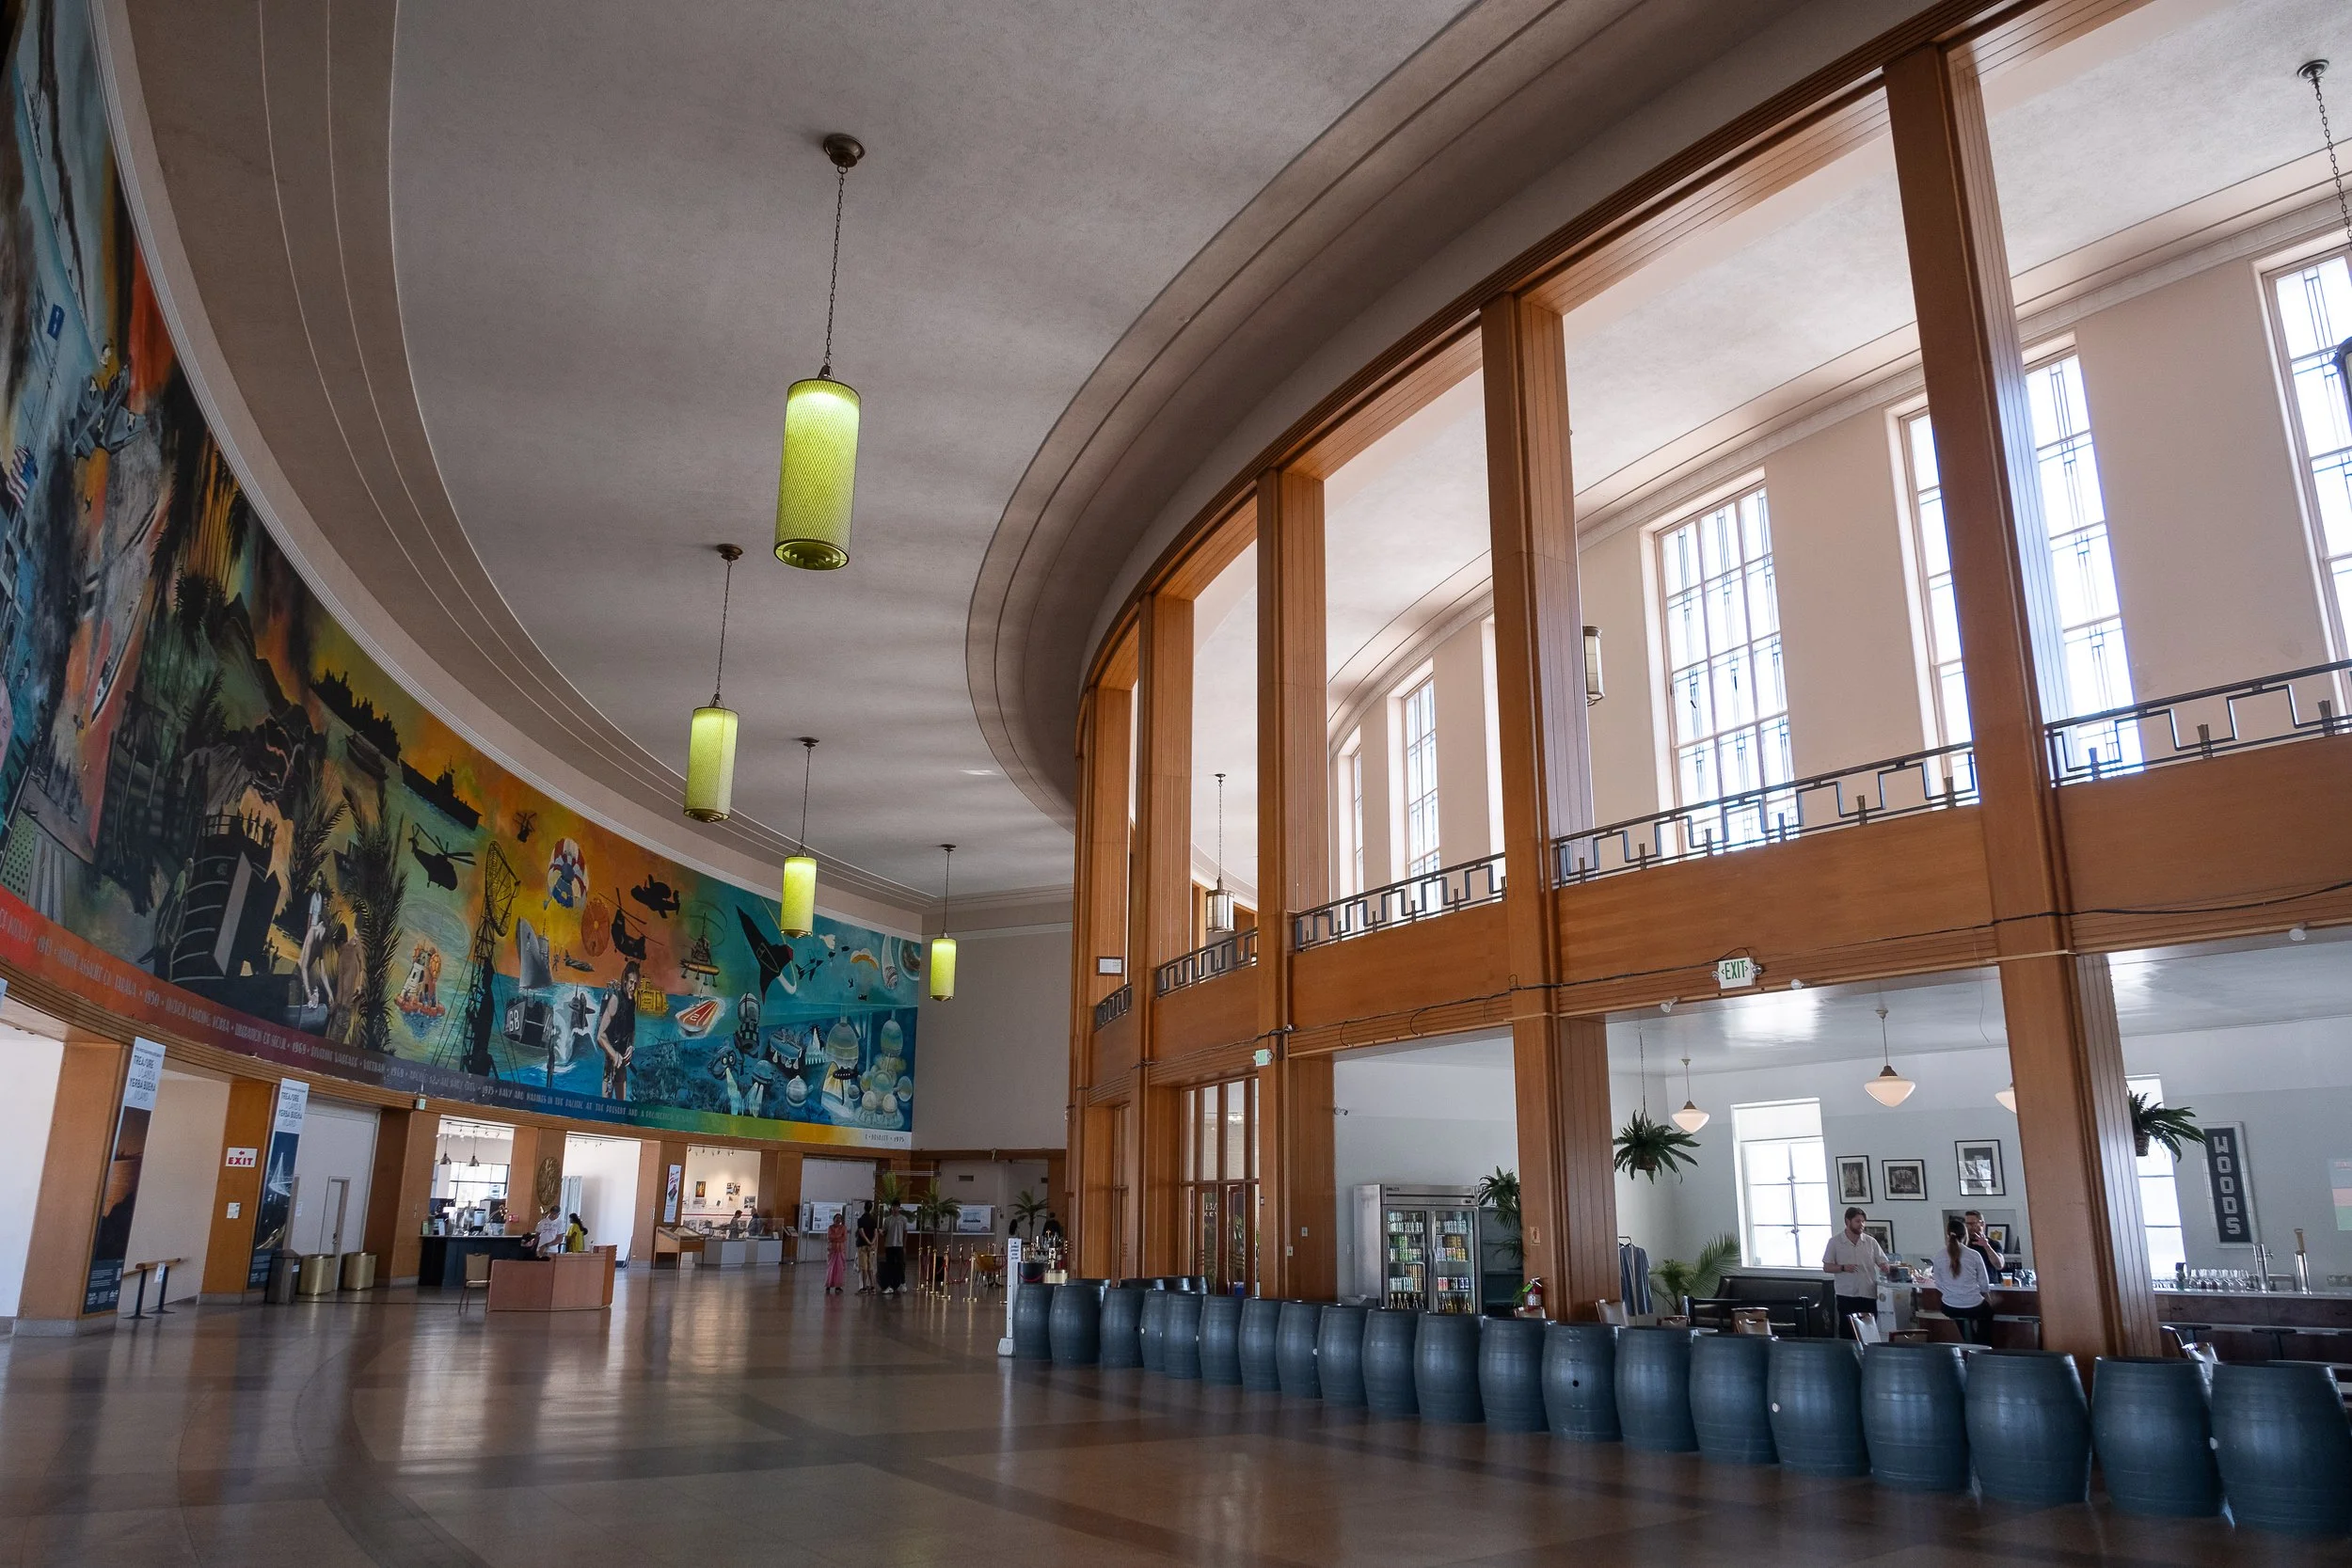
Building One was built in 1938 by architects William Peyton Day and George Kelham, and it is a beautiful piece of Streamline Moderne. Long horizontal lines, rounded corners, the whole 1930s optimism about the future baked into the facade. It was the administrative center for the Golden Gate International Exposition and the terminal for the Pan Am Clippers. Then it was Navy headquarters for the Pacific, and Admiral Nimitz ran the Pacific war from inside it. It went on the National Register of Historic Places in 2008.
It has also been in more movies than you would guess. It played the Berlin airport in Indiana Jones and the Last Crusade, and it turned up in the Parent Trap remake.
The Treasure Island Museum is in the building now, and the history section of their site is worth reading before you go. Check their hours if you want to get inside.
Photographically, the facade rewards a straight on approach that lets the symmetry do the work. Late afternoon light rakes across it and picks up the horizontal banding, which is when I would shoot it. The palm lined approach on Avenue of the Palms is a strong leading line if you want more context in the frame. If you have the 16-55 at 16mm you can get the whole building without backing up into the road, though watch your verticals and be ready to correct them in post.
Shoot it before you head to the shoreline. The building is best in the hour or two before sunset, and the skyline is best after, so the sequence works out neatly.
What to bring on Treasure Island
Same kit as the hilltop, and it covers both islands, which is the nice thing about doing them in one trip.
Fujifilm X-T5 as the body
XF 16-55mm f/2.8 for the skyline, the Administration Building, and everything wide. The f/2.8 matters once the light drops.
XF 70-300mm or XF 100-400mm for the eastern span, the Oakland cranes, and isolating individual downtown towers. If there is a moonrise happening, the longer glass is what you want. I used the 100-400 for the full moon over Alcatraz from Sausalito and the same approach applies here.
A tripod. For the light trails on Yerba Buena and for anything after the sun is down. Non negotiable.
A remote release or use the timer.
A jacket. You are standing on a rock in the middle of the Bay with nothing between you and the Golden Gate. It gets cold and windy fast once the sun is gone, and it will be colder than the city was when you left it.
X100VI if you want a second body for walking around. Not essential here, since this is not really street photography territory, but it is nice to have.